If you love cooking with a cast iron grill pan, you know how important it is to keep it in perfect shape. But do you know the secret to making your pan non-stick, rust-free, and ready for every meal?
Seasoning is the key. Without it, your food might stick, and your pan could wear out faster. You’ll learn simple, step-by-step tips to season your cast iron grill pan like a pro. By the end, your pan will cook better, last longer, and make every meal taste even better.
Ready to unlock the full potential of your cast iron grill pan? Let’s dive in!

Credit: www.reddit.com
Choosing The Right Cast Iron Grill Pan
Choosing the right cast iron grill pan is the first step toward seasoning success and cooking delicious meals. Not all grill pans are created equal, and the pan you pick will influence how well it seasons and how evenly it cooks. Knowing what to look for can save you time and frustration.
Material Quality And Weight
Look for a pan made of high-quality cast iron. It should feel heavy and solid in your hand. A heavier pan usually means better heat retention and more even cooking.
Lightweight pans might seem easier to handle, but they often heat unevenly and don’t season as well. Have you ever noticed your food sticking to a pan despite seasoning? The material quality plays a big role in that.
Size And Shape
Think about the size that fits your cooking style and stove. A 10 to 12-inch pan works well for most families, giving enough surface area without being hard to manage.
Also, check the shape of the ridges. Tall, sharp ridges give perfect grill marks but can be tough to clean. Low, wider ridges are easier to maintain but might not give the same searing effect.
Pre-seasoned Vs. Raw Cast Iron
Some pans come pre-seasoned, which saves you time before cooking. However, you might still want to season it yourself to build a stronger coating.
Raw cast iron needs a full seasoning process before use but often results in a more durable non-stick surface over time. Which do you prefer—starting ready to go or customizing your own seasoning?
Handle Design And Comfort
Don’t overlook the handle. A long, sturdy handle helps with easy maneuvering, especially when the pan is hot and heavy.
Look for a pan with a helper handle on the opposite side if you plan to move it often. Comfort in handling makes seasoning and cooking less of a hassle.
Preparing Your Grill Pan For Seasoning
Preparing your cast iron grill pan for seasoning is a crucial step that sets the foundation for a durable, non-stick surface. Before applying oil and heating, the pan must be spotless and completely dry. This ensures the seasoning bonds well and protects your pan from rust and damage.
Cleaning The Pan
Start by scrubbing your grill pan to remove any dirt, dust, or factory residue. Use warm water and a mild dish soap, even though soap is usually avoided with cast iron, it’s important before the first seasoning. A stiff brush or a non-metal scrubber works best to get into the grill grooves without scratching the surface.
If you see any rust spots or stubborn residue, use fine steel wool gently to scrub them away. Rinse thoroughly to wash off all soap and debris. Don’t skip this step because leftover grime can prevent the oil from adhering properly.
Drying Completely
After washing, dry your grill pan immediately and thoroughly to avoid rust. Wipe it down with a clean towel, then place it on a stovetop burner over low heat for a few minutes. This extra heat removes any moisture trapped in the grill ridges, which towels alone can’t reach.
Have you ever skipped drying and found your pan developing rust spots overnight? That’s why this step is non-negotiable. A fully dry pan ensures the oil you apply next will soak in evenly, creating the perfect seasoning layer.
Selecting The Best Oil For Seasoning
Choosing the right oil for seasoning your cast iron grill pan can make a big difference in how well it performs and lasts. The right oil creates a strong, non-stick surface that protects your pan from rust and enhances flavor. But not all oils are equal when it comes to seasoning, so picking the best one is crucial for your cast iron’s longevity.
Types Of Oils To Use
Oils with a high smoke point work best for seasoning because they can withstand the heat needed to bond with the cast iron. Here are some great options:
- Flaxseed oil:This oil is popular for its ability to create a hard, durable seasoning layer. It dries quickly and forms a strong bond with the pan’s surface.
- Canola oil:A budget-friendly choice with a high smoke point, making it ideal for regular seasoning.
- Grapeseed oil:Known for its neutral flavor and high smoke point, it works well without adding any unwanted taste.
- Vegetable oil:Easy to find and reliable, vegetable oil offers decent results for seasoning, especially if you’re just starting out.
- Avocado oil:While a bit pricier, its very high smoke point makes it excellent for a strong, long-lasting seasoning.
Have you ever noticed how your pan’s seasoning improves after using a particular oil? That’s because some oils polymerize better than others, creating a smoother, more resilient surface.
Oils To Avoid
Not every oil is suitable for seasoning. Some can leave sticky residues or break down under high heat, which harms your pan’s surface. Avoid these oils:
- Olive oil:It has a low smoke point and tends to become sticky or gummy when heated too much.
- Butter or animal fats:These burn quickly and don’t form a proper seasoning layer.
- Coconut oil:Although popular in cooking, it has a relatively low smoke point and can leave a sticky finish.
- Unrefined or cold-pressed oils:These often contain impurities that interfere with the seasoning process.
Picking the wrong oil can mean spending more time scrubbing and reseasoning your pan. Which oil have you found works best in your kitchen? Experimenting can reveal surprising results.
Step-by-step Seasoning Process
Clean the pan thoroughly and dry it completely. Apply a thin layer of oil all over the surface. Heat the pan in the oven to bond the oil and create a non-stick coating.
Seasoning a cast iron grill pan is essential for achieving that perfect non-stick surface and enhancing the flavor of your dishes. This step-by-step process not only protects your pan from rust but also ensures a smooth cooking experience. Let's dive into the details of this essential kitchen ritual.
Applying Oil Evenly
Start by thoroughly cleaning your cast iron grill pan. Ensure it's dry before proceeding. Choose a high-smoke point oil like vegetable or flaxseed oil. Using a clean cloth or paper towel, apply a thin layer of oil to the entire surface of the pan, including the handle. Make sure the oil is evenly distributed without pooling. This thin coat will be the foundation of your seasoning layer.
Heating Techniques
Place your pan upside down in a preheated oven at around 375°F (190°C). This allows excess oil to drip off and prevents pooling. Let the pan bake for about an hour. This heating process bonds the oil to the iron, creating a natural, durable non-stick coating. Using the oven's heat also means less smoke in your kitchen, keeping the experience pleasant and hassle-free.
Cooling And Repeating
Once the baking time is up, turn off the oven and let the pan cool down inside. This gradual cooling helps the seasoning set properly. After cooling, check the pan's surface. If it's not as smooth or shiny as desired, repeat the oiling and heating steps. Seasoning is a cumulative process, and multiple rounds may be necessary for a perfect finish. Consistency is key. With each use and seasoning cycle, your pan will only get better. Have you noticed the difference a well-seasoned pan makes to your meals?
Maintaining The Seasoned Surface
Maintaining the seasoned surface of your cast iron grill pan is key to keeping it non-stick and rust-free. The seasoning acts as a natural barrier against moisture and food sticking, but it needs gentle care to last. How you clean and care for your pan after each use can either protect or break down that valuable layer.
Cleaning After Each Use
Avoid using soap or harsh detergents, as they can strip away the seasoning. Instead, rinse your pan with hot water and use a soft brush or non-metal scrubber to remove food bits.
If food is stubborn, add coarse salt and scrub gently to lift residues without damaging the surface. Dry the pan thoroughly with a towel or over low heat on the stove to prevent moisture buildup.
Re-seasoning Tips
Even with careful cleaning, your pan might need a touch-up seasoning now and then. After drying, apply a thin layer of cooking oil—flaxseed, vegetable, or canola oil work well—over the entire surface.
Heat the pan in the oven at around 375°F (190°C) for an hour to let the oil bond with the cast iron. This process fills in any small gaps in the seasoning and strengthens the protective layer.
Avoiding Rust
Rust can sneak in if moisture lingers or if the pan is stored improperly. Make sure your pan is completely dry before putting it away—moisture is the enemy here.
Store your cast iron in a dry place with good air circulation. Placing a paper towel inside the pan can help absorb any leftover moisture and keep rust at bay.

Credit: www.yahoo.com
Troubleshooting Common Issues
Seasoning a cast iron grill pan can sometimes bring challenges. Common problems like sticky surfaces, uneven seasoning, or rust may appear. These issues affect cooking and the pan’s lifespan. Knowing how to fix them keeps your pan in great shape.
Sticky Or Flaky Surface
A sticky or flaky surface means the seasoning did not set properly. Too much oil or low heat during seasoning causes this. To fix it, scrub the pan with warm water and a stiff brush.
Dry the pan completely. Then, apply a thin layer of oil and bake it at a higher temperature (around 450°F) for one hour. Repeat if needed until the surface feels smooth and non-sticky.
Uneven Seasoning
Uneven seasoning shows as patches of dull or shiny spots. This happens when oil is not spread evenly or the pan cools too fast. Clean the pan thoroughly and dry it well.
Apply a thin and even coat of oil. Use a lint-free cloth to remove excess oil. Bake the pan at 400°F for one hour. Let it cool slowly inside the oven to help the oil bond evenly.
Rust Removal
Rust appears if the pan is not dried properly or stored in humid places. Remove rust by scrubbing with steel wool or a scrub pad until it is gone.
Wash with warm water and mild soap. Dry the pan immediately and apply a thin layer of oil. Heat it in the oven at 350°F for one hour to restore seasoning and protect from future rust.
Enhancing Flavor With A Seasoned Pan
A well-seasoned cast iron grill pan does more than just prevent food from sticking—it actually enhances the flavor of your dishes. The seasoning creates a natural non-stick layer that helps sear food perfectly, locking in juices and adding a subtle smoky taste. Each time you cook, the pan’s seasoning deepens, making your meals richer and more delicious over time.
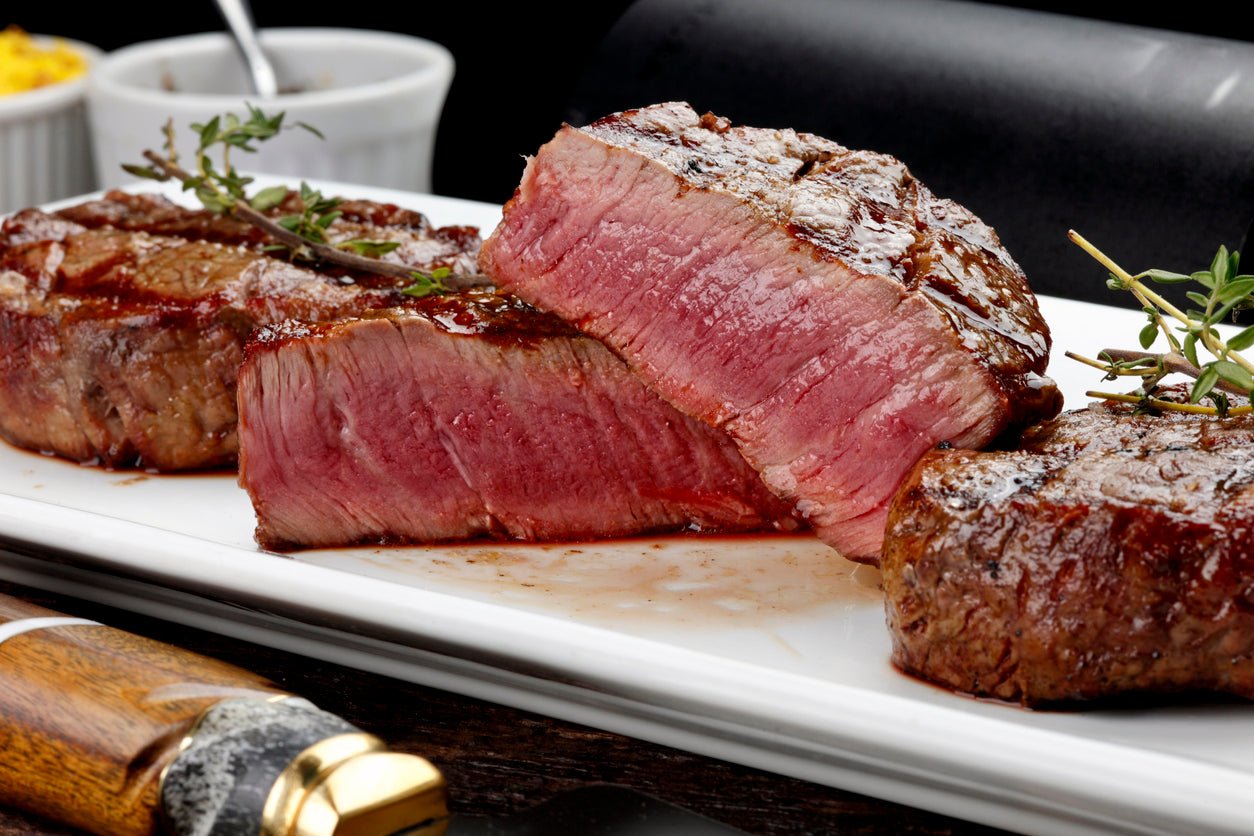
Think about the last time you grilled a steak or some vegetables on your cast iron. Did you notice how the food developed a beautiful crust and retained its natural flavors? That’s the magic of seasoning working to elevate your cooking experience.
Cooking Tips
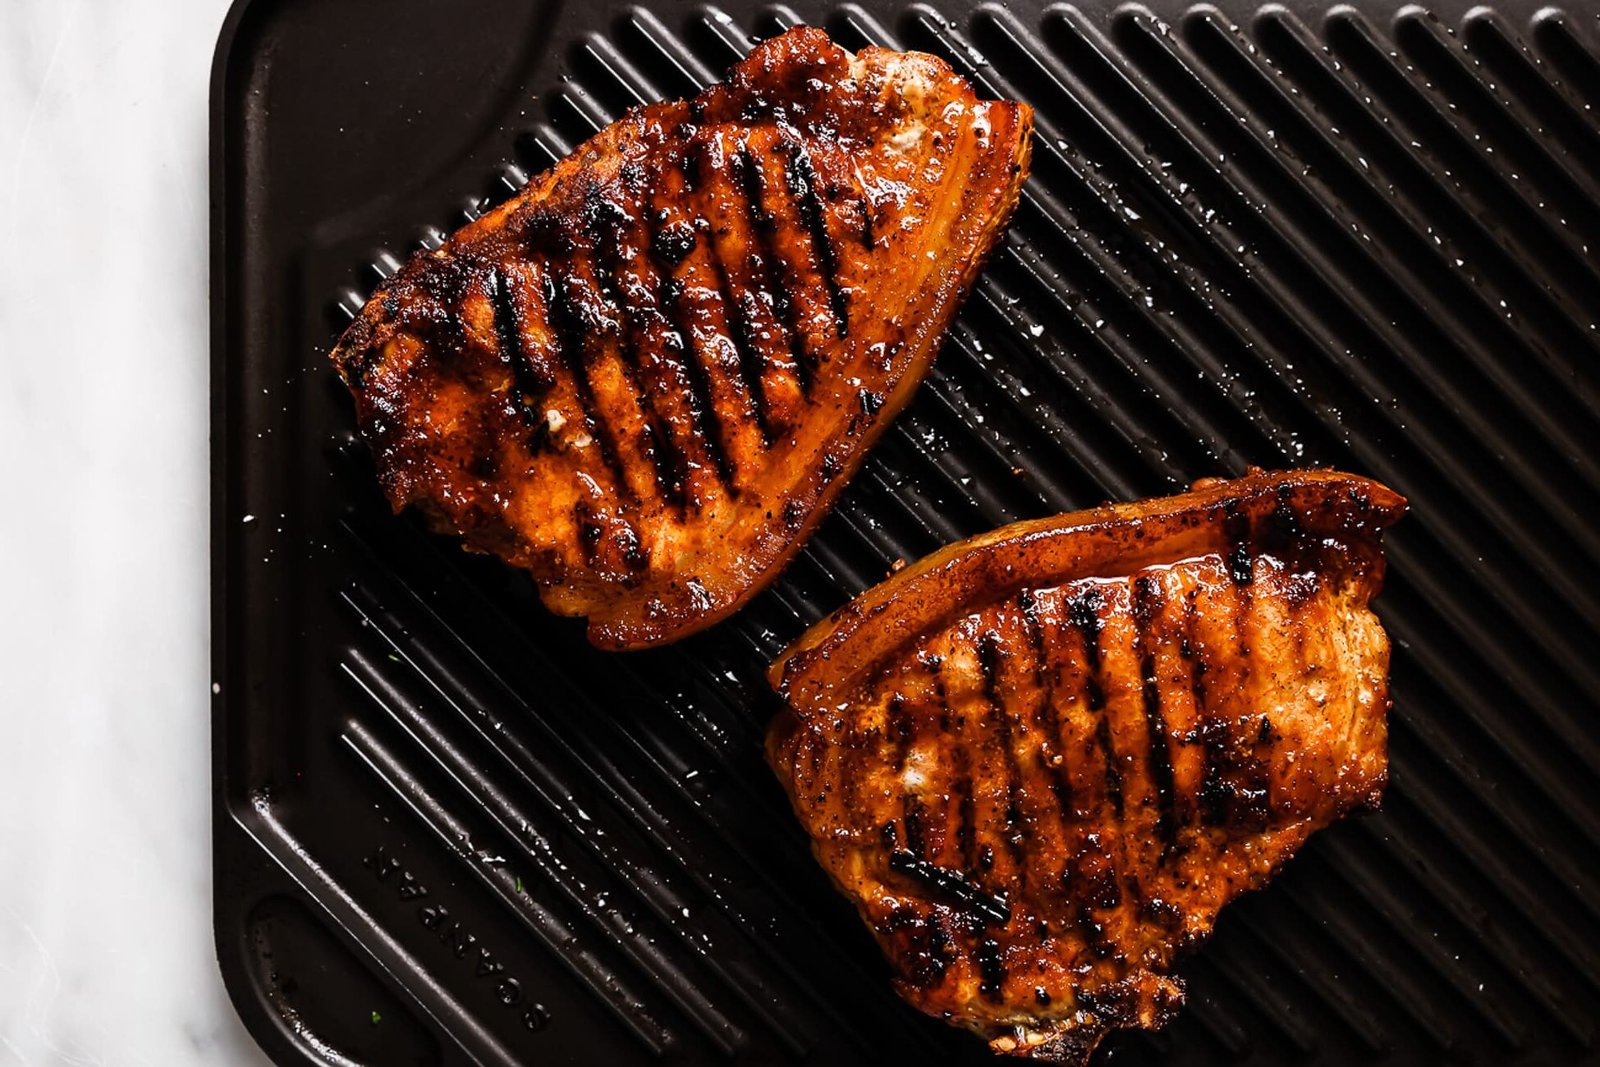
- Preheat your pan well.A hot pan ensures even cooking and better grill marks.
- Use a little oil or fat.This keeps the seasoning intact and enhances flavor.
- Don’t overcrowd the pan.Give your food space to breathe for better caramelization.
- Clean gently.Avoid harsh soaps; wipe with a paper towel or use warm water and a brush.
- Reapply oil after cleaning.This keeps the seasoning strong and ready for the next use.
Best Foods For Cast Iron Grill Pans
- Steaks and burgers.The pan’s heat creates a perfect sear and grill marks that boost flavor.
- Chicken breasts and thighs.Even cooking and crispy skin are easy with a seasoned surface.
- Vegetables like bell peppers, zucchini, and asparagus.They get a smoky char that enhances their natural sweetness.
- Fish fillets.A well-seasoned pan prevents sticking and helps keep delicate fish intact.
- Tofu or tempeh.The pan’s seasoning adds a subtle smokiness and prevents sticking.

Credit: www.reddit.com
Frequently Asked Questions
How Often Should I Season A Cast Iron Grill Pan?
Season your cast iron grill pan after every few uses. Regular seasoning maintains its non-stick surface and prevents rust. If food starts sticking or the pan looks dull, it’s time to reseason.
What Oil Is Best For Seasoning A Grill Pan?
Use oils with high smoke points like flaxseed, vegetable, or canola oil. These oils create a durable, non-stick coating when heated properly. Avoid low smoke point oils as they can become sticky.
Can I Season A Cast Iron Grill Pan In The Oven?
Yes, seasoning in the oven is effective. Apply a thin oil layer and bake the pan upside down at 450°F for an hour. Let it cool inside the oven before use.
How Do I Clean My Cast Iron Grill Pan Before Seasoning?
Clean your pan with warm water and a stiff brush. Avoid soap to maintain the natural oils. Dry thoroughly and apply a thin layer of oil before seasoning.
Conclusion
Seasoning a cast iron grill pan keeps it non-stick and rust-free. Use oil with a high smoke point for best results. Apply a thin layer and heat the pan well. Repeat the process to build a strong coating. Regular seasoning improves your pan's cooking performance.
Clean the pan gently after use to protect the seasoning. Enjoy grilling with a pan that gets better over time. Simple care makes your cast iron last for years. Keep seasoning often to maintain its quality and shine.