Craving homemade ice cream but don’t want to fuss with fancy machines? You’re in the right place.
Making ice cream in a Ninja blender is simpler than you think. With just a few ingredients and your blender, you can create creamy, delicious ice cream right at home. Keep reading, and you’ll discover easy steps to satisfy your sweet tooth faster than ever before.
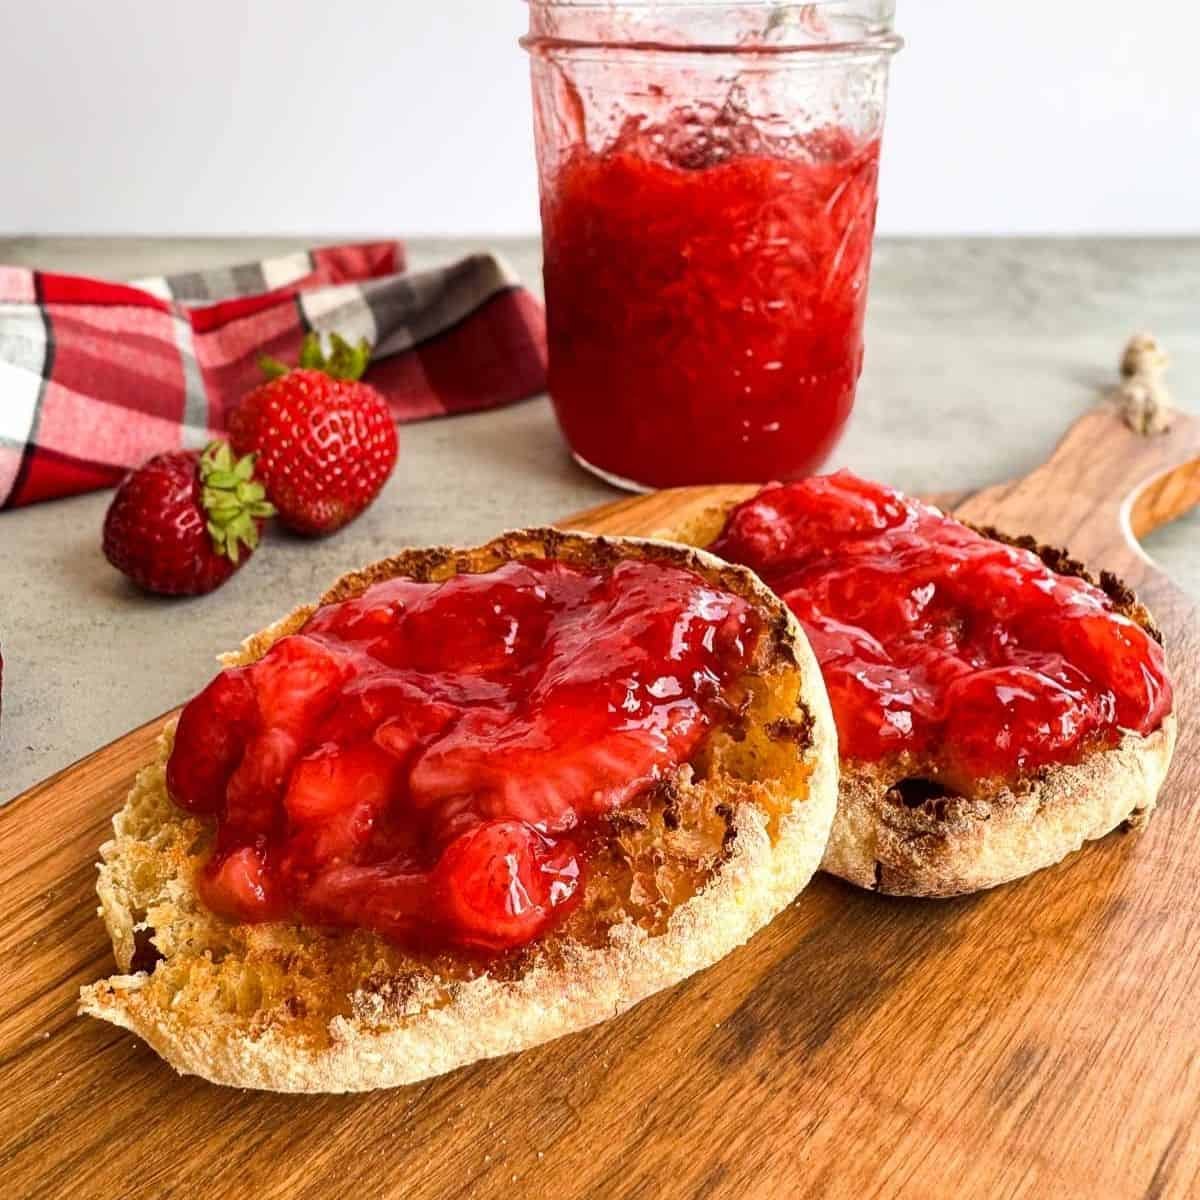
Your perfect scoop is just a blend away!

Credit: my100yearoldhome.com
Choosing Ingredients
Choosing the right ingredients is key to making delicious ice cream in a Ninja blender. Good ingredients create better taste and texture. Freshness and quality matter a lot. Simple choices can make your homemade ice cream stand out.
Selecting Fresh Fruits
Fresh fruits add natural sweetness and vibrant color. Choose fruits that are ripe but firm. Berries, mangoes, and bananas work well. Wash fruits thoroughly before use. Cut them into small pieces for easy blending. Frozen fruits can also create creamy texture and chill the mixture.
Picking Dairy Options
Dairy gives ice cream its creamy texture. Whole milk or heavy cream makes richer ice cream. Greek yogurt adds creaminess with a bit of tang. Plant-based milk like almond or coconut works for dairy-free options. Keep dairy cold for better blending and smoother ice cream.
Adding Sweeteners And Flavors
Sweeteners balance fruit tartness and enhance flavor. Use sugar, honey, or maple syrup in small amounts. Vanilla extract adds depth and warmth. Cocoa powder or cinnamon can add unique tastes. Taste the mixture before freezing to adjust sweetness and flavors.

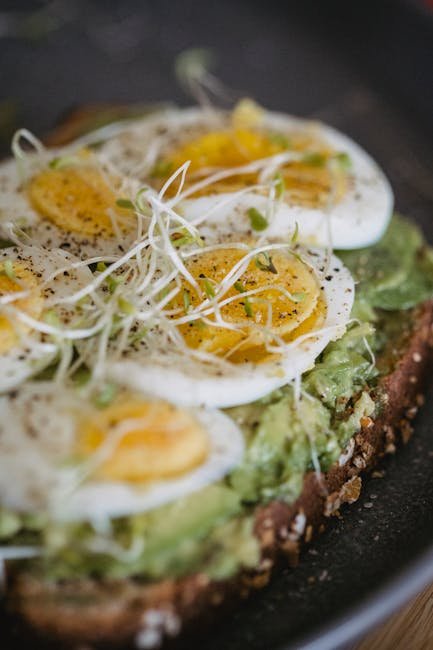
Credit: www.bonappetit.com
Preparing The Mixture
Combine cream, milk, sugar, and your favorite flavor in the Ninja blender. Blend until smooth and creamy, ready to freeze.
Preparing the Mixture Creating homemade ice cream in a Ninja Blender is simple and fun. The key is to prepare the mixture properly. This involves selecting the right ingredients and ensuring they blend smoothly. Follow these steps to ensure a creamy and delicious treat.
Chopping And Freezing Fruit
Start by choosing your favorite fruits. Berries, bananas, and mangoes work well. Chop them into small pieces. This helps the blender process them easily. Place the chopped fruit in a single layer on a tray. Freeze until solid. Freezing the fruit first gives the ice cream a smooth texture.
Blending Ingredients Smoothly
Once your fruit is frozen, gather the other ingredients. You will need milk or a dairy-free alternative. Add a sweetener like honey or sugar, if desired. Place the frozen fruit and liquid in the Ninja Blender. Blend on high speed. Blend until the mixture is smooth and creamy.
Adjusting Texture And Sweetness
Taste the blended mixture. It might need a little tweaking. If it’s too thick, add a bit more liquid. For extra sweetness, add a touch more honey or sugar. Blend again briefly. Ensure the texture is smooth and the sweetness is to your liking. Now, your ice cream mixture is ready to freeze or serve.
Using The Ninja Blender
Using your Ninja Blender to make ice cream is a game changer. It’s fast, easy, and cuts down on the usual mess. But getting the perfect creamy texture takes a bit of know-how.
Best Blender Settings
Start by selecting the pulse or smoothie setting on your Ninja. These settings give you better control over the blending speed. Too high, and you risk turning your mix into a slushy instead of creamy ice cream.
Adjust the speed gradually. Begin with a low setting and increase it only if needed. This helps break down frozen chunks without overheating the motor or melting your mixture.
Blending Techniques For Creaminess
Use short bursts of blending instead of one long spin. This technique lets you check the texture often and prevents over-blending.
Stop and scrape down the sides of the blender jar regularly. This ensures all ingredients blend evenly, giving you a smooth, consistent ice cream.
Adding a splash of milk or cream during blending can help achieve that rich, creamy texture. But be careful not to add too much, or you’ll end up with a runny mix.
Avoiding Overheating The Blender
Blending frozen ingredients puts extra strain on your Ninja’s motor. To protect it, blend in short intervals and give the blender a break between cycles.
Keep an eye on the motor’s temperature. If it feels hot to touch, pause for a few minutes before continuing.
Using smaller batches can also reduce the load on your blender. Have you noticed your Ninja struggling with large amounts? Splitting your mixture can save both your machine and your ice cream’s texture.
Freezing And Serving
Freezing and serving ice cream made in a Ninja blender is simple and quick. After blending your ingredients into a creamy texture, proper freezing ensures the best taste and consistency. Serving your homemade ice cream with fun toppings makes it even more enjoyable. Leftover ice cream needs careful storage to keep it fresh and tasty for later.
Quick Freeze Tips
- Transfer the ice cream into a shallow, airtight container.
- Spread it evenly to freeze faster and avoid ice crystals.
- Cover the surface with plastic wrap before sealing the lid.
- Freeze for at least 2 to 4 hours for a firm texture.
- For a softer scoop, freeze less time or stir halfway.
Serving Ideas And Toppings
- Add fresh fruits like strawberries or blueberries for extra flavor.
- Sprinkle chopped nuts or granola for a crunchy bite.
- Drizzle chocolate syrup or honey for sweetness.
- Top with whipped cream or mini marshmallows.
- Serve in cones, bowls, or even with cookies.
Storing Leftovers Properly
- Keep ice cream in a sealed container to prevent freezer burn.
- Store at the back of the freezer for consistent temperature.
- Use leftovers within one to two weeks for best taste.
- Let frozen ice cream sit a few minutes before scooping.
- Do not refreeze melted ice cream to avoid texture loss.
Troubleshooting Tips
Making ice cream in a Ninja blender is fun but can bring some challenges. This section offers simple tips to fix common issues. These tricks help improve texture, prevent melting, and balance flavors. Follow these easy solutions to enjoy smoother, tastier ice cream every time.
Fixing Grainy Texture
Grainy ice cream feels rough and less creamy. This happens when ice crystals form too large. To fix this:
- Use chilled ingredients before blending.
- Blend in short bursts to avoid warming the mix.
- Add a small amount of cream or milk to improve smoothness.
- Freeze the mixture longer before blending again.
Dealing With Melting Issues
Ice cream melts quickly if not handled right. Keep it firm by:
- Freezing the ice cream in small portions for faster chilling.
- Using less sugar, as sugar lowers the freezing point.
- Chilling the blender jar and blades before making ice cream.
- Storing the ice cream in an airtight container to prevent softening.
Improving Flavor Balance
Good flavor is key to delicious ice cream. Try these tips:
- Taste the mixture before freezing to adjust sweetness.
- Add a pinch of salt to enhance flavors.
- Mix in natural extracts like vanilla for depth.
- Use fresh fruits or flavorings for better taste.
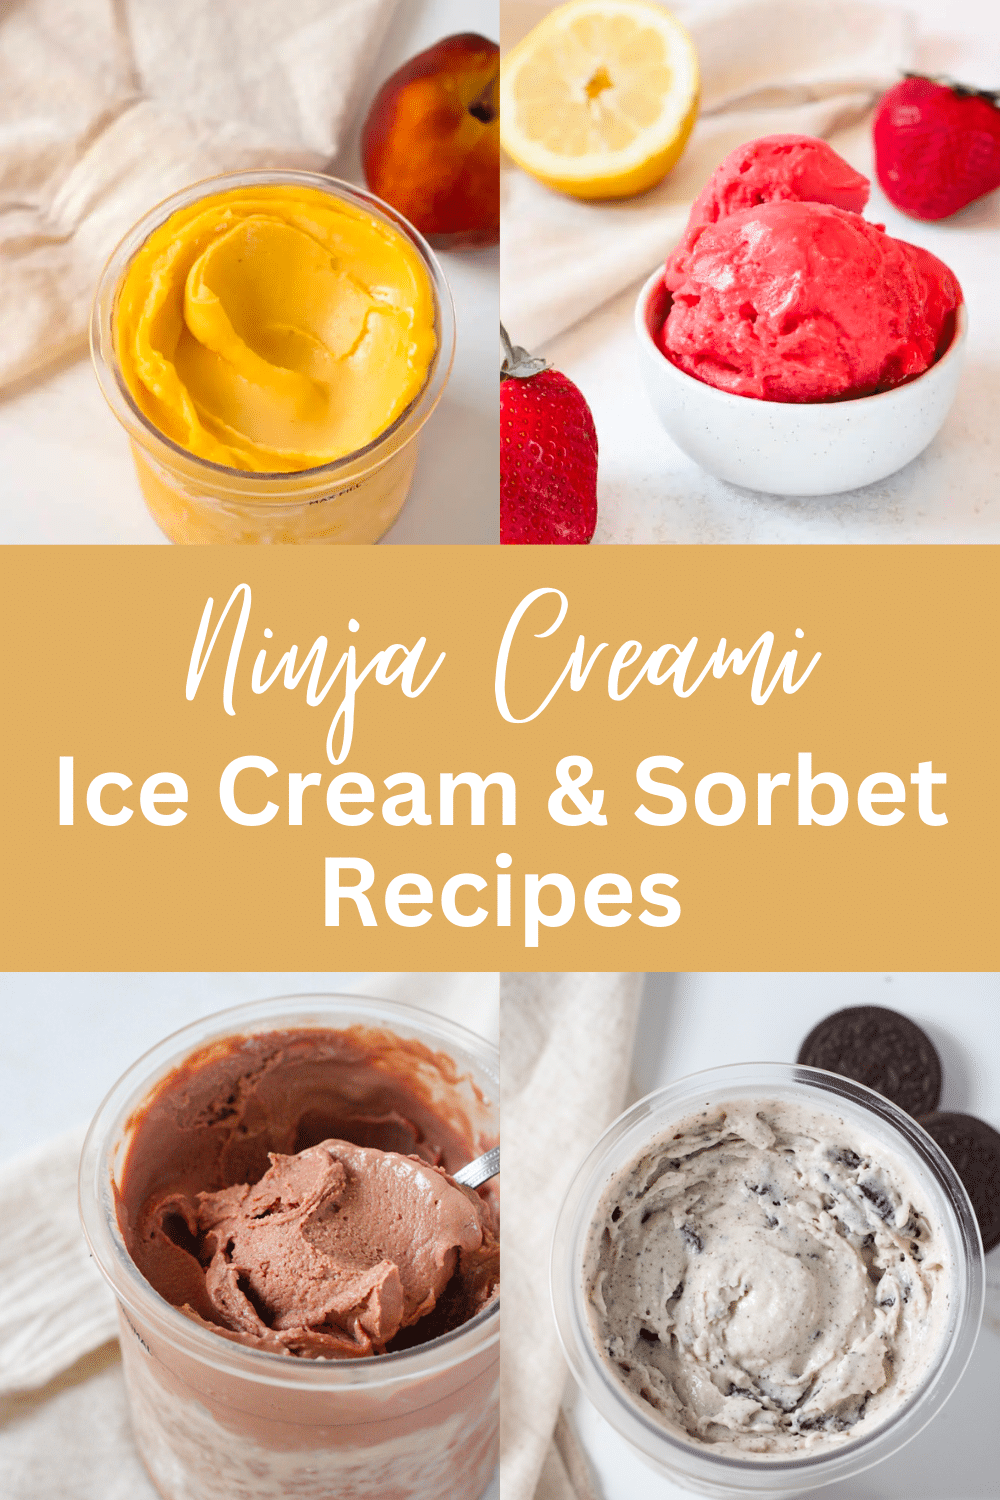
Credit: www.themidwestkitchenblog.com
Frequently Asked Questions
How Do You Make Ice Cream In A Ninja Blender?
To make ice cream in a Ninja blender, blend frozen fruit, cream, and sweetener. Use pulse mode for smooth texture. Freeze before serving for best results.
What Ingredients Are Needed For Ninja Blender Ice Cream?
You need frozen fruit, heavy cream or milk, sweetener like honey, and optional flavorings. These create creamy, delicious ice cream quickly.
Can You Make Dairy-free Ice Cream In A Ninja Blender?
Yes, use coconut milk or almond milk instead of dairy. Blend with frozen fruit and sweetener for a smooth, dairy-free treat.
How Long Does It Take To Make Ice Cream In A Ninja Blender?
It usually takes 3 to 5 minutes of blending. Freeze the mixture for 1 to 2 hours for firmer texture.
Conclusion
Making ice cream in a Ninja blender is quick and simple. You only need a few ingredients and a little time. The blender does most of the work, so you get smooth, creamy ice cream fast. You can try different flavors and add your favorite mix-ins.
This method saves money and lets you enjoy fresh ice cream anytime. Give it a try and enjoy a tasty treat at home. Ice cream making has never been easier or more fun.