
Are you ready to turn your favorite cake into bite-sized treats that everyone will love? Making cake pops with a cake pop maker is easier than you think.
Imagine creating perfect, round cake balls in minutes, then decorating them however you want. Whether you’re planning a party, a special gift, or just a fun snack, this simple method will help you impress everyone. Keep reading, and you’ll discover step-by-step how to make delicious cake pops that look and taste amazing—no baking skills required!
Choosing The Right Cake Pop Maker
Choosing the right cake pop maker is crucial for creating perfect, evenly cooked cake pops every time. The right tool can save you time and effort, making the whole baking process more enjoyable. Before you buy, consider what features matter most to you and how you plan to use your cake pop maker.
Types Of Cake Pop Makers
There are several types of cake pop makers available, each designed to suit different needs. Some models have non-stick plates shaped specifically for cake pops, while others come with interchangeable plates for making waffles or other treats.
Compact, single-purpose cake pop makers are great if you want a straightforward, easy-to-use appliance. On the other hand, multi-functional devices offer more versatility but might take up more space in your kitchen.
Features To Look For
Look for features that make your baking experience smoother and safer. Non-stick surfaces are a must—they help release cake pops easily and make cleaning quick.
Temperature control is another important feature. Some cake pop makers have adjustable heat settings, allowing you to cook different recipes without burning your treats.
Also, check for indicator lights that tell you when the maker is ready or when your cake pops are done. This helps prevent overcooking or undercooking.
Safety Tips
Safety should always be a priority. Choose a cake pop maker with heat-resistant handles to prevent burns during use.
Make sure the appliance has a stable base to avoid accidental tipping, especially if you have curious kids around.
Always unplug the device when not in use, and avoid touching hot surfaces directly. Keeping a kitchen mitt nearby is a smart habit.

Credit: baketivity.com
Gathering Ingredients And Supplies
Before making cake pops with a cake pop maker, gather all ingredients and tools. Having everything ready saves time and makes the process smooth. Prepare your workspace to keep things organized and clean.
Essential Ingredients
- Pre-baked cake or cake mix
- Frosting (buttercream or cream cheese)
- Chocolate or candy melts for coating
- Sprinkles or decorations (optional)
- Food coloring (optional)
Optional Flavor Additions
- Vanilla or almond extract
- Mini chocolate chips
- Crushed nuts or cookie crumbs
- Fruit puree or jam
- Spices like cinnamon or nutmeg
Tools And Accessories
- Cake pop maker or mold
- Mixing bowls and spoons
- Measuring cups and spoons
- Sticks for cake pops
- Cooling rack or styrofoam block
- Microwave-safe bowls for melting chocolate
Preparing The Cake Batter
Preparing the cake batter is a crucial step in making perfect cake pops with your cake pop maker. The batter needs to be just right—not too thick or too runny—to ensure the cake pops cook evenly and hold their shape. Let’s dive into some easy recipes, tips on mixing for the best texture, and common mistakes to avoid so your cake pops turn out delicious every time.
Simple Batter Recipes
Starting with a straightforward batter can save you time and stress. You can use a classic vanilla or chocolate cake mix from the box and add a few tweaks to improve texture:
- Use 1/4 cup less liquid than the package suggests to make the batter thicker.
- Add 1 teaspoon of vanilla extract for extra flavor.
- For a homemade option, combine 1 cup flour, 1/2 cup sugar, 1/4 cup melted butter, 1/2 cup milk, 1 egg, and 1 teaspoon baking powder.
These simple recipes give you a dense but moist batter that's perfect for cake pops.
Mixing Tips For Best Texture
How you mix your batter can change the outcome dramatically. Overmixing can make your cake pops tough, while undermixing leaves lumps that won’t cook well.
- Mix just until ingredients are combined.
- Use a spatula or wooden spoon instead of an electric mixer for better control.
- Scrape down the sides of your bowl to ensure everything is evenly mixed.
Have you noticed your cake pops being dense or crumbly? Adjusting your mixing technique might be the key.
Avoiding Common Mistakes
Many people run into the same issues when preparing batter for cake pops. One common mistake is adding too much liquid, which causes the batter to be too runny and prevents the pops from holding shape.
- Don’t overfill the cake pop molds; use just enough batter to fill each cavity about 3/4 full.
- Avoid skipping the resting time if your recipe calls for it; this helps the batter settle.
- Make sure your ingredients are at room temperature for even mixing.
What’s your biggest challenge when preparing cake batter? Fixing these simple errors can improve your results instantly.

Credit: bakeitwithlove.com
Using The Cake Pop Maker
Using a cake pop maker simplifies the process of creating perfect cake pops. This handy appliance cooks the batter evenly and shapes the pops quickly. Understanding how to use it correctly helps you get the best results every time.
Preheating And Greasing
Always preheat the cake pop maker before adding batter. This ensures even cooking and prevents sticking. Use a brush or paper towel to apply a thin layer of oil or non-stick spray on the molds. Proper greasing helps cake pops come out smoothly without breaking.
Filling The Molds Correctly
Fill each mold about three-quarters full with batter. Avoid overfilling to prevent spills and uneven shapes. Use a spoon or small scoop to place the batter gently. This allows room for the cake to expand while cooking.
Cooking Time And Temperature
Set the temperature as recommended by your cake pop maker’s manual. Cooking times usually range from 4 to 6 minutes. Check for doneness by gently opening the lid—cake pops should be golden brown and firm. Avoid opening too early to prevent collapse.
Decorating Cake Pops
Decorating cake pops is where creativity meets delicious fun. This step transforms plain cake balls into delightful treats that catch the eye and taste amazing. Simple techniques and colorful toppings can make your cake pops stand out for any occasion.
Melting And Using Chocolate Coatings
Choose good-quality chocolate or candy melts for coating. Melt the chocolate slowly in a microwave or double boiler. Stir often to avoid burning and keep it smooth.
Dip each cake pop into the melted chocolate, covering it completely. Tap off the extra coating gently to avoid thick layers. Place the dipped pops upright in a styrofoam block to dry.
Adding Sprinkles And Toppings
Sprinkles add color and texture to your cake pops. Add them right after dipping while the coating is still wet. This helps them stick well.
- Use small nonpareils, sugar crystals, or colored sugar.
- Try crushed nuts or mini chocolate chips for crunch.
- Edible glitter adds a shiny touch.
Be creative with different shapes and colors to match your theme.
Creative Decoration Ideas
Use edible markers to draw faces or patterns on dried cake pops. Add tiny candy eyes or use icing to pipe designs.
Wrap sticks with ribbons or colored tape for a festive look. You can also dip cake pops in different colors to create stripes or swirls.
Try layering coatings by dipping twice in contrasting colors. Add small fondant shapes or edible pearls for a fancy finish.
Storing And Serving Cake Pops
Storing and serving cake pops properly can make a big difference in how they look and taste. You want to keep them fresh and appealing, especially if you're preparing them ahead for a party or event. Let’s look at the best ways to store your cake pops and serve them like a pro.
Best Storage Methods
Keep your cake pops in an airtight container to prevent them from drying out. If you plan to eat them within a day, storing them at room temperature works well.
For longer storage, place them in the refrigerator. Wrap each cake pop individually with plastic wrap or place them upright in a box lined with parchment paper to avoid smudging the coating.
Want to keep them fresh for weeks? Freeze your cake pops in a sealed container. When ready to enjoy, thaw them in the fridge to maintain texture and flavor.
Serving Tips And Presentation
Use a stylish stand or a decorated foam block to display your cake pops upright. This not only keeps them neat but also adds a wow factor to your table.
Consider adding edible decorations like sprinkles, drizzle, or edible glitter right before serving to keep the pops looking fresh and vibrant.
Think about the setting—are you serving at a casual gathering or a fancy party? Matching the presentation to the occasion makes your cake pops even more memorable.
Shelf Life And Freshness
Cake pops taste best within 2-3 days when stored properly at room temperature. Beyond that, the texture might get dry or the coating could lose its shine.
Refrigerated cake pops can last up to a week, but bring them to room temperature before serving to enjoy the best flavor and softness.
If you freeze cake pops, consume them within a month. Always check for any changes in texture or taste before serving to guests.
Troubleshooting Common Issues
Cake pops may stick if the maker isn’t preheated properly or if the batter is too wet. Adjust batter thickness and check temperature to ensure even cooking. Cleaning the maker right after use prevents buildup and keeps it working smoothly.
Troubleshooting common issues with cake pops can save time and frustration. Even with a cake pop maker, things don't always go as planned. Let's address some frequent problems you might face.
Cake Pops Sticking To The Maker
Cake pops sticking to the maker is a common issue. Ensure the maker is properly preheated. Use a non-stick spray before adding batter. Don't overload each cavity with batter. Overfilling can cause sticking. Let the pops cool a bit before removing. This can help them release easily.
Uneven Cooking Problems
Uneven cooking can result in undercooked or burnt pops. Check the temperature settings of your maker. Make sure it is heating evenly. Rotate the pops halfway through cooking. This ensures even heat distribution. Use a consistent amount of batter for each pop. This helps in cooking them uniformly.
Cracked Or Falling Apart Pops
Cracked or falling apart pops can be disappointing. Overmixing the batter can lead to this issue. Mix just until the ingredients combine. Let the pops cool before handling. Warm pops are more fragile. If they still crack, try a thicker batter. This can provide more structure.
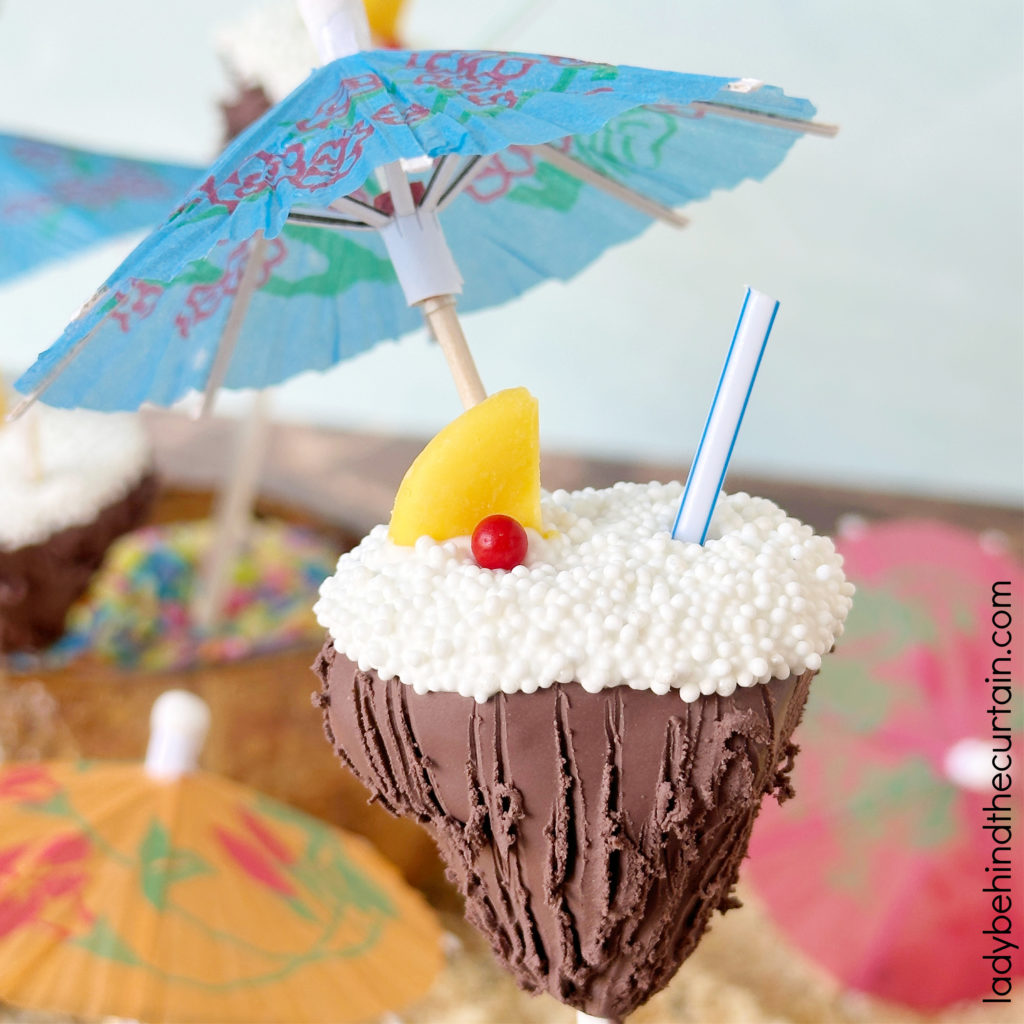
Credit: www.ladybehindthecurtain.com
Frequently Asked Questions
How Do You Prepare Cake Batter For Cake Pops?
Use moist, fully cooled cake for the best results. Crumble the cake finely and mix with frosting. This creates a dough-like texture that shapes easily in the cake pop maker.
Can You Use Any Cake Pop Maker For All Recipes?
Most cake pop makers work similarly, but check your model’s instructions. Different brands may vary in temperature and cooking time. Adjust recipes accordingly for consistent, delicious cake pops.
How Long Does It Take To Cook Cake Pops In The Maker?
Typically, cooking time ranges from 3 to 5 minutes. Check your cake pop maker’s manual for exact timing. Pops should be golden brown and firm when done.
What Coatings Work Best For Cake Pops Made This Way?
Chocolate and candy melts are popular coatings. They harden quickly and add flavor. You can also decorate with sprinkles, nuts, or edible glitter for extra appeal.
Conclusion
Making cake pops with a cake pop maker is simple and fun. You just need cake, frosting, and your favorite decorations. The maker cooks the cake evenly and quickly. You can enjoy tasty treats in no time. Try different flavors and colors to surprise your friends.
This method saves time and reduces mess in the kitchen. Everyone can create cute, delicious cake pops with little effort. Give it a try and enjoy baking with ease and joy.


