Are you looking for a simple way to make rich, flavorful bone broth that’s packed with nutrients? Using a slow cooker is one of the easiest methods you can try.
Imagine coming home to a pot filled with warm, comforting broth that supports your health and tastes amazing. You’ll discover step-by-step how to make bone broth in your slow cooker, with tips to get the best flavor and benefits. Keep reading—you’re about to turn basic ingredients into a powerful, delicious kitchen staple.

Credit: www.youtube.com
Choosing Bones For Broth
Choosing the right bones is key to making rich and flavorful bone broth in your slow cooker. The type and quality of bones you select will directly affect the taste, nutrition, and gelatin content of your broth. Understanding what bones to use and where to find them helps you create a broth that’s both delicious and nourishing.
Types Of Bones To Use
Not all bones are created equal for broth-making. You want bones that have a good mix of marrow, cartilage, and connective tissue. These parts release the gelatin that gives your broth a silky texture and body.
- Marrow bones:Beef or veal marrow bones add richness and a deep flavor.
- Knuckle bones:These have lots of cartilage, great for a gelatin-rich broth.
- Neck bones:Chicken or beef neck bones are packed with connective tissue and flavor.
- Feet:Chicken or pork feet are full of collagen, which thickens the broth beautifully.
- Joint bones:These bones have cartilage that breaks down to enhance nutrition and taste.
You can also mix different types to balance flavor and gelatin content. What happens if you use only meat-heavy bones? The broth might lack body and become thin.
Where To Source Quality Bones
Finding quality bones is easier than you might think, and it makes a big difference in your broth’s flavor and health benefits. Ideally, look for bones from animals raised without hormones or antibiotics.
- Local butchers:They often have fresh bones and can offer advice on the best cuts for broth.
- Farmers markets:A great place to find pasture-raised or organic bones directly from farmers.
- Grocery stores:Some stores carry soup bones, but check labels for quality and sourcing.
- Online meat suppliers:If local options are limited, many reputable online stores sell high-quality bones.
Have you ever noticed how broth from store-bought bones tastes different from that made with fresh, local bones? The freshness and source truly impact the final product. Try asking your butcher about the animal’s diet and living conditions—these details matter.
Credit: gethealthyu.com
Preparing Bones And Ingredients
Preparing the bones and ingredients is the foundation of a rich, flavorful bone broth. The way you treat your bones and the extras you add can transform a simple broth into a nourishing and deeply satisfying experience. Let’s break down how to get these elements ready before they slow cook to perfection.
Roasting Bones For Flavor
Roasting the bones before adding them to your slow cooker adds a deep, savory flavor that you won’t get otherwise. Spread the bones out on a baking sheet and roast them in the oven at 400°F (200°C) for about 30-45 minutes. You’ll notice the bones turn a golden brown, and the aroma will start to fill your kitchen—this is a good sign.
Don’t skip this step; it’s like giving your broth a head start in flavor. If you’ve ever had broth that tastes flat or bland, roasting might be what you missed. It’s a simple trick that makes a big difference.
Adding Vegetables And Herbs
Fresh vegetables and herbs bring layers of flavor and nutrition to your bone broth. Classic choices include onions, carrots, and celery, roughly chopped so they release their essence during the long cooking process. You can toss in garlic cloves, bay leaves, peppercorns, and thyme for extra depth.
Think about what you like in a soup or stew and add those elements. Want a brighter broth? Add a splash of apple cider vinegar; it helps extract minerals from the bones. Don’t overcrowd the slow cooker—balance the quantity so the flavors blend, but none overpower.
Setting Up Your Slow Cooker
Setting up your slow cooker correctly is key to making rich, flavorful bone broth. The process begins with choosing a slow cooker that fits your needs and ends with layering the ingredients to ensure even cooking. Both these steps help extract the most nutrients and taste from your bones and vegetables.
Choosing The Right Slow Cooker Size
Select a slow cooker that matches the amount of broth you want. Small cookers (3-4 quarts) work well for personal batches. Medium sizes (5-6 quarts) suit families or regular use. Large slow cookers (7+ quarts) are perfect for big batches or meal prep.
A cooker too small may overflow. One too large might leave ingredients uncovered, slowing cooking. Pick a size that allows bones and water to fit comfortably without crowding.
Layering Ingredients Properly
Place bones at the bottom of the slow cooker first. Bones release collagen and flavor best when fully submerged. Next, add vegetables like onions, carrots, and celery. Herbs and spices go on top to infuse aroma.
Use water to cover all ingredients by about one inch. Avoid overfilling to prevent spills during cooking. Proper layering ensures even heat and optimal nutrient extraction.
Credit: health.clevelandclinic.org
Cooking Time And Temperature
Cooking bone broth in a slow cooker requires attention to time and temperature. These factors affect the flavor and nutrient extraction. Understanding the best cooking practices helps achieve a rich and delicious broth.
Ideal Cooking Duration
Bone broth needs ample time to extract nutrients. The ideal cooking duration is 24 hours. This long simmering allows the bones to release collagen and minerals. If pressed for time, a minimum of 12 hours is necessary. The longer it cooks, the richer the broth becomes.
Low Vs. High Heat Settings
Low heat is preferred for making bone broth. It ensures a gentle simmer, preventing overcooking. High heat can lead to a cloudy broth. Low heat also allows for better nutrient extraction. Keep the slow cooker on the low setting for best results.
Straining And Storing Broth
Straining and storing bone broth properly keeps its flavor and quality. After slow cooking, the broth holds many particles and bits. Removing these solids cleans the broth. Proper storage keeps it fresh for later use. Follow these simple steps for best results.
Removing Solids And Impurities
Use a fine mesh strainer or cheesecloth to strain the broth. Pour the broth slowly to avoid spills. The strainer catches bones, vegetables, and small bits. For clearer broth, strain twice. Let the broth cool slightly before straining. This helps settle the impurities at the bottom. Skim off any fat that rises to the top. Use a spoon or ladle for this. Clear broth tastes better and looks more appealing.
Best Practices For Storage
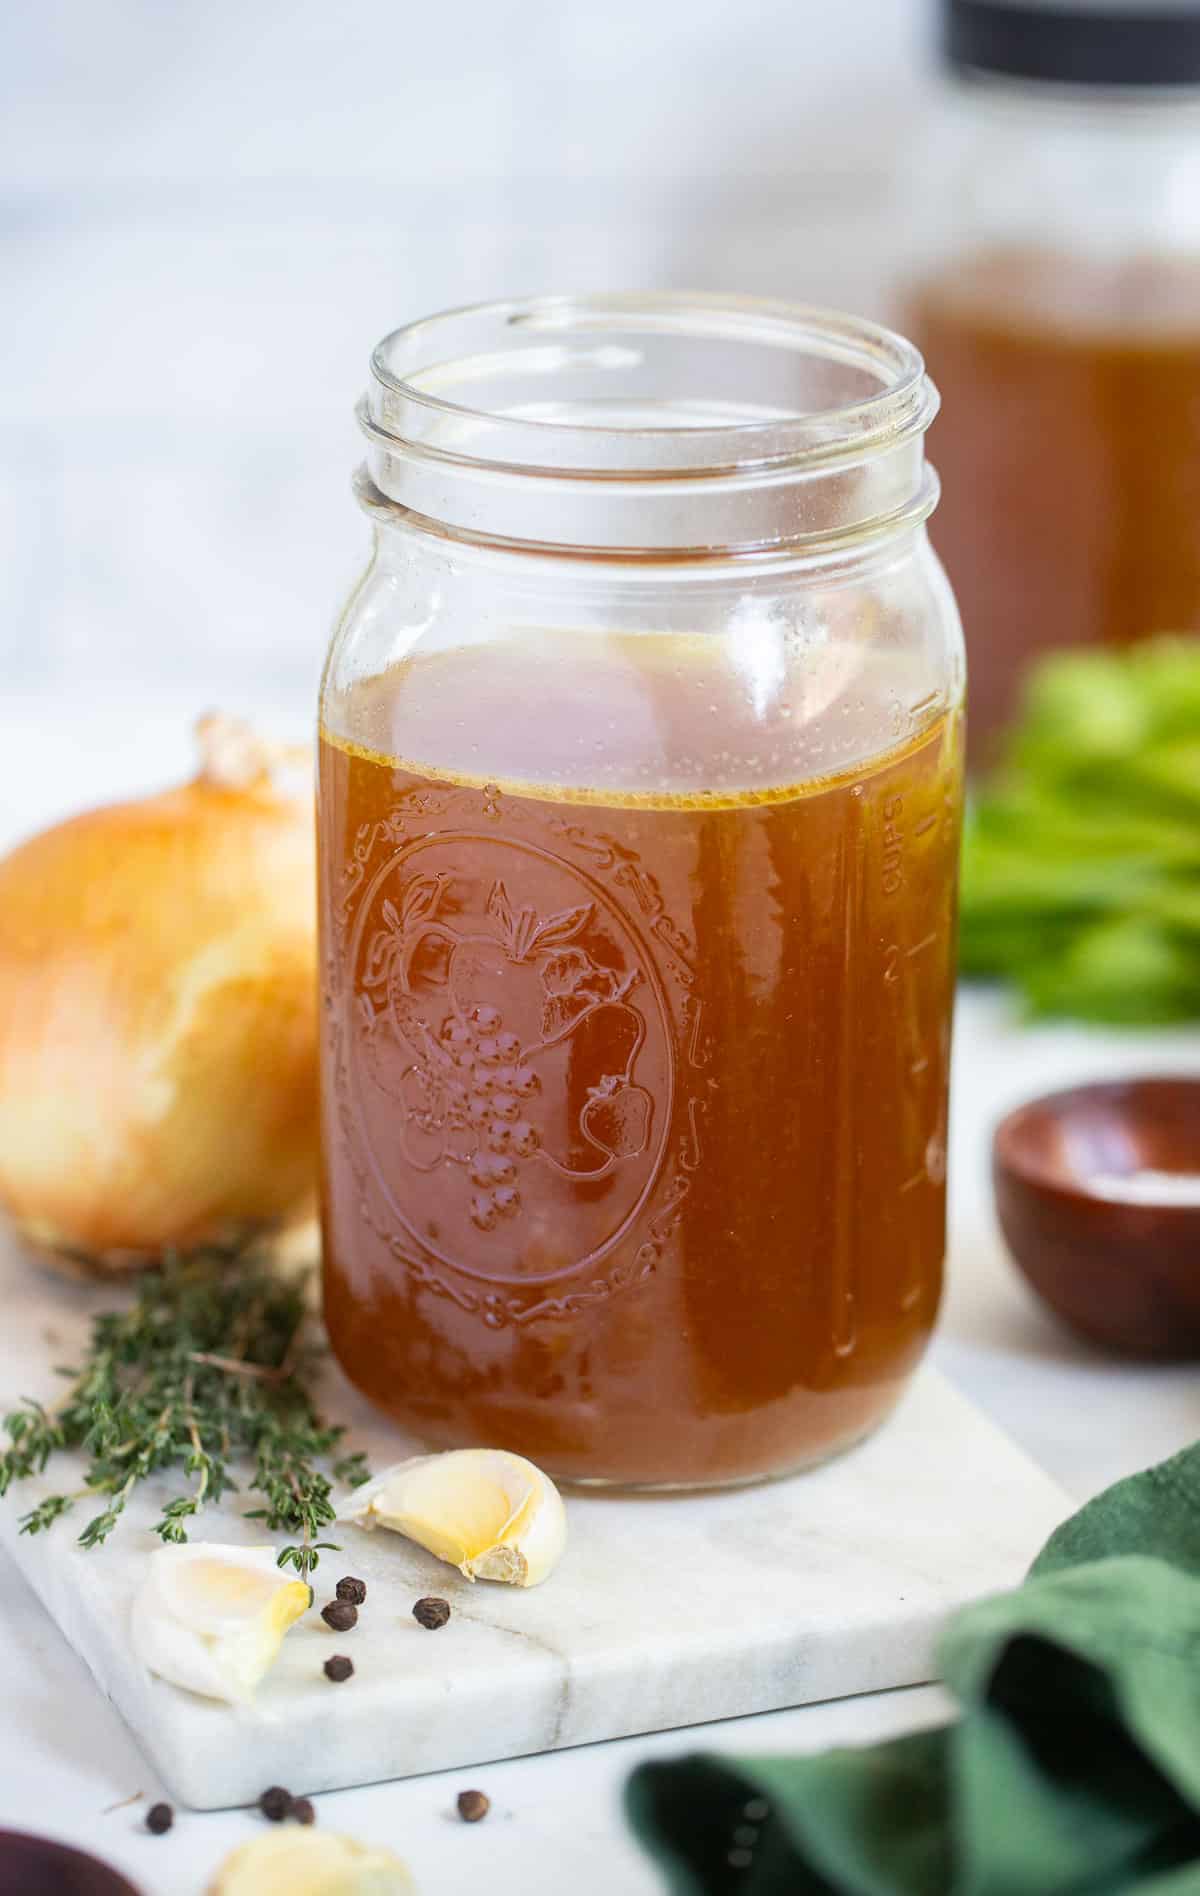
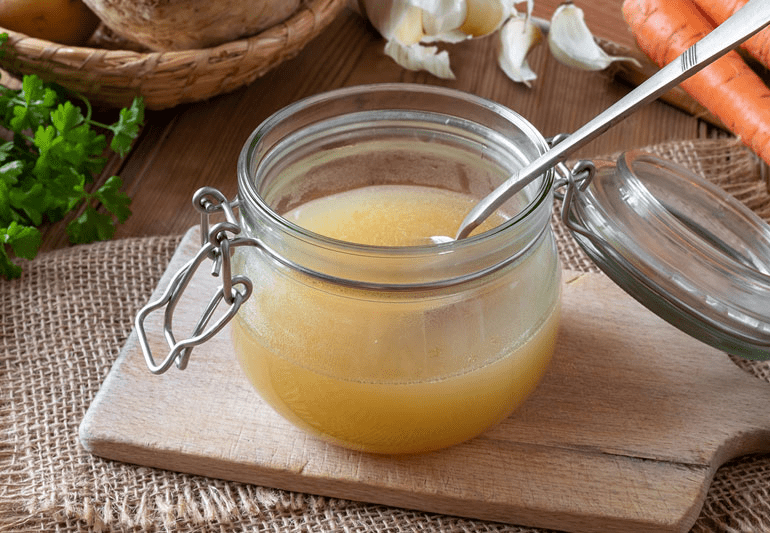
Store broth in clean, airtight containers. Glass jars or BPA-free plastic containers work well. Leave some space at the top for expansion if freezing. Cool broth to room temperature before sealing. Label containers with the date for easy tracking. Refrigerate broth for up to 5 days. Freeze broth for longer storage, up to 3 months. Thaw frozen broth in the fridge overnight. Avoid leaving broth at room temperature for too long. Proper storage keeps broth safe and tasty.
Boosting Nutritional Value
Boosting the nutritional value of bone broth makes it even healthier and tastier. Small changes to your slow cooker recipe can increase vitamins and minerals. These tweaks help support your immune system and improve digestion. Focus on adding ingredients that enrich the broth naturally.
Adding Apple Cider Vinegar
Apple cider vinegar helps release minerals from the bones during cooking. A small amount, about 1 to 2 tablespoons, works well. It makes the broth rich in calcium, magnesium, and potassium. Adding vinegar also balances the flavor with a slight tang. Pour it into the slow cooker before adding bones and water.
Including Superfoods
Superfoods boost the broth's antioxidants and nutrients. Adding vegetables like garlic, ginger, and turmeric enhances health benefits. These ingredients fight inflammation and support the immune system. You can include herbs such as parsley and thyme for extra vitamins. Toss in carrots, celery, or onions for natural sweetness and more nutrients.
Using Bone Broth In Recipes
Bone broth is a versatile ingredient that adds rich flavor and nutrition to many dishes. It enhances the taste and texture of meals. Using bone broth in recipes creates a deeper, more satisfying flavor. It also boosts the nutrient content of your food naturally.
Bone broth works well as a base in many types of cooking. It helps keep dishes moist and tender. It is perfect for soups, stews, grains, and vegetables. Using bone broth instead of water or stock can elevate simple recipes to something special.
Soups And Stews
Bone broth makes soups and stews heartier and richer. It adds a natural depth of flavor to every spoonful. Use it as a base for vegetable, chicken, or beef soups. The broth helps soften ingredients and blend flavors well.
Simmer meat and vegetables in bone broth for hours. This results in tender meat and flavorful vegetables. It also thickens the soup naturally without extra cream or flour. Bone broth keeps soups warm longer and tastes better reheated.
Cooking Grains And Vegetables
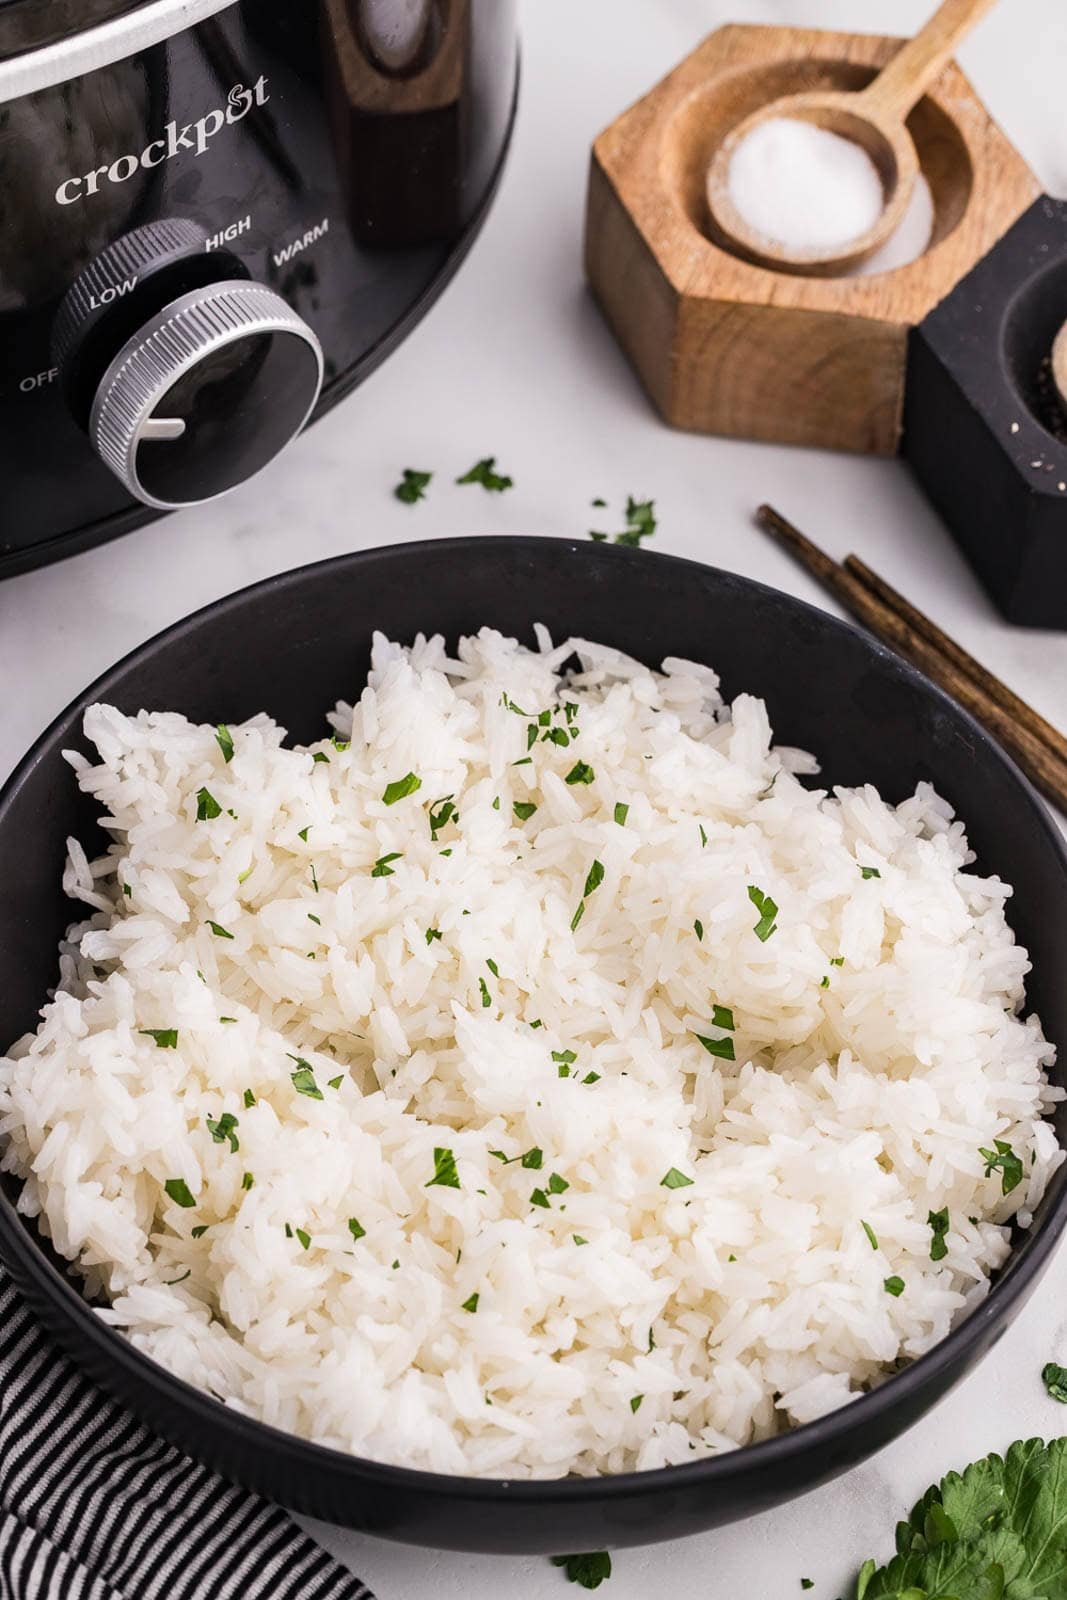
Cooking grains like rice, quinoa, or barley in bone broth adds taste and nutrients. The grains absorb the broth’s rich flavors during cooking. This simple swap makes plain grains exciting and more delicious.
Steam or roast vegetables with bone broth for extra moisture and flavor. Use broth instead of water when boiling or steaming. This method enhances the natural sweetness of vegetables. It gives a subtle savory note that pairs well with many dishes.
Troubleshooting Common Issues
Making bone broth in a slow cooker is simple, but sometimes issues arise. Common problems like cloudy broth or strange flavors can affect the final taste and appearance. These troubleshooting tips help fix those issues and improve your broth every time.
Cloudy Broth Solutions
Cloudy broth can look unappetizing. It usually happens when bones or ingredients release impurities during cooking. Try these tips to clear your broth:
- Blanch bones in boiling water for 10 minutes before slow cooking.
- Skim off foam and fat from the surface during the first hour.
- Strain broth through a fine mesh sieve or cheesecloth after cooking.
- Cook on low heat to reduce boiling, which causes cloudiness.
These steps help make your broth clear and more appealing.
Avoiding Off-flavors
Off-flavors spoil the taste of your bone broth. They often come from poor ingredients or cooking mistakes. Here’s how to keep your broth tasting fresh:
- Use fresh, high-quality bones without any smell.
- Remove excess blood by rinsing bones before cooking.
- Add vegetables like onions and carrots for natural sweetness.
- Cook slowly and avoid overcooking, which can cause bitterness.
- Store broth properly in airtight containers to prevent spoilage.
Following these tips will give your broth a clean, rich flavor every time.
Frequently Asked Questions
How Long Should Bone Broth Cook In A Slow Cooker?
Bone broth typically cooks for 12 to 24 hours in a slow cooker. Longer cooking extracts more nutrients and flavor. Use low heat for best results and avoid boiling to keep the broth clear and rich.
What Bones Are Best For Slow Cooker Bone Broth?
Use a mix of marrow bones, knuckles, and joints for gelatin-rich broth. Beef, chicken, or turkey bones work well. Adding some meaty bones boosts flavor and nutrients in your slow cooker bone broth.
Can I Add Vegetables To Bone Broth In A Slow Cooker?
Yes, add onions, carrots, celery, and garlic for extra flavor. Avoid starchy vegetables like potatoes to keep broth clear. Add vegetables in the last few hours to preserve their nutrients and taste.
How Do I Store Bone Broth After Slow Cooking?
Cool broth quickly, then store it in airtight containers. Refrigerate for up to 5 days or freeze for 3 months. Label containers with date to ensure freshness and safety when using later.
Conclusion
Making bone broth in a slow cooker is simple and rewarding. Just add bones, water, and your favorite veggies. Let it cook slowly for many hours. The result is a warm, tasty broth full of nutrients. You can use it in soups, stews, or drink it plain.
This method saves time and effort. Enjoy homemade broth anytime you want. Give it a try and taste the difference. Bone broth made easy!