Ready to upgrade your backyard cooking? Hooking up a natural gas grill can seem tricky, but with the right steps, you’ll be grilling like a pro in no time.
Imagine never running out of propane or worrying about carrying heavy tanks again. This guide will walk you through the process in simple, clear steps, so you can enjoy delicious meals without any hassle. Keep reading to discover how easy it really is to connect your natural gas grill safely and confidently.
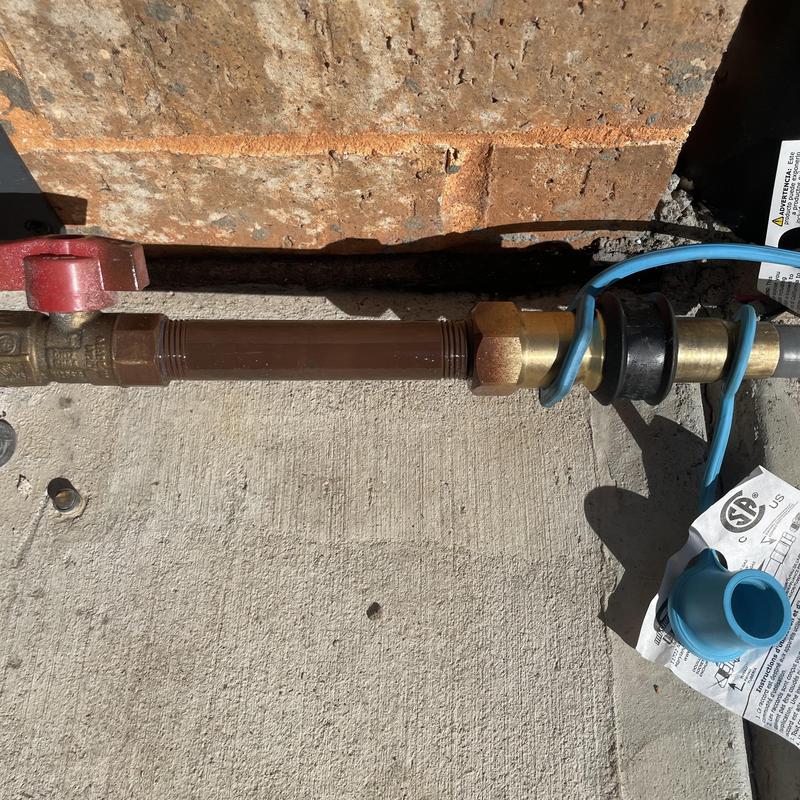
Credit: www.kendrickplumbing.com
Gather Necessary Tools
Gathering the right tools before hooking up your natural gas grill can save you time and prevent frustration. Having everything on hand ensures a smooth and safe installation process. Let’s look at what you need to check and prepare before you start.
Check Grill Compatibility
Not all grills are designed for natural gas. Verify that your grill model supports a natural gas connection rather than propane. Look for labels or manuals specifying "natural gas compatible."
Check the size of the gas inlet on your grill. It needs to match your home’s gas supply line or the adapter you plan to use. This simple step avoids buying the wrong fittings and keeps your setup secure.
Prepare Safety Equipment
Safety should never be an afterthought. Before you begin, make sure you have a gas leak detector or soapy water in a spray bottle to test for leaks after connection.
Wear gloves and eye protection to shield yourself from unexpected gas bursts or debris. Having a fire extinguisher nearby is a smart precaution—just in case.
Locate Gas Supply
Before you can connect your natural gas grill, finding the gas supply is essential. Knowing exactly where your gas line is located helps you work safely and efficiently. This step might seem simple, but it’s key to avoiding accidents and ensuring your grill functions properly.
Identify Natural Gas Line
Start by looking for a gas line near your grilling area. Most homes have a natural gas line running along the exterior walls or close to your propane tank area. You might spot a yellow or black flexible gas hose connected to a pipe, or a capped gas outlet designed for outdoor appliances.
If you're unsure, check your home's gas meter and trace the piping from there. It usually runs underground or along the foundation of your house. Sometimes the gas line is hidden behind a panel or under a deck—don't hesitate to use a flashlight or even ask a professional if you can’t find it.
Turn Off Main Gas Valve
Safety first: before touching any connections, turn off the main gas valve. This valve is often located near your gas meter or where the gas line enters your home. Turning it off stops the flow of gas, preventing leaks during installation.
Double-check that the valve is fully closed by turning the handle perpendicular to the pipe. You might want to test your grill’s valve to make sure no gas is escaping. Have you ever had to quickly shut off your gas supply? It’s a good habit to practice for emergencies.
Attach Gas Hose
Attaching the gas hose is a key part of setting up your natural gas grill safely. The hose moves gas from the supply to your grill, so it must fit well and connect securely. Follow these steps to attach the gas hose correctly. This ensures safe grilling and smooth gas flow.
Select Proper Hose And Fittings
Choose a hose designed for natural gas use. Look for hoses rated for outdoor grills and high pressure. The fittings must match the grill’s gas inlet and your home’s gas line. Using the wrong size or type can cause leaks or poor gas flow.
- Check the hose length to reach your grill comfortably.
- Pick fittings made of brass or stainless steel for durability.
- Confirm the thread type matches both the grill and gas line.
Connect Hose To Grill
Attach the hose fitting to the grill’s gas inlet. Turn the fitting clockwise until it is snug. Use a wrench to tighten, but avoid over-tightening which can damage threads. Check that the connection is secure and straight to prevent leaks.
- Clean the grill’s gas inlet before attaching the hose.
- Apply pipe thread sealant or Teflon tape for a tight seal.
- Do not force the fitting if it does not fit easily.
Connect Hose To Gas Line
Attach the other end of the hose to the natural gas supply line. Turn the fitting clockwise and tighten with a wrench. Confirm the connection is secure and leak-free. Test connections with a soap-water solution to spot bubbles indicating leaks.
- Turn off the main gas supply before connecting.
- Use pipe thread sealant on the gas line fitting.
- Never skip the leak test before lighting the grill.

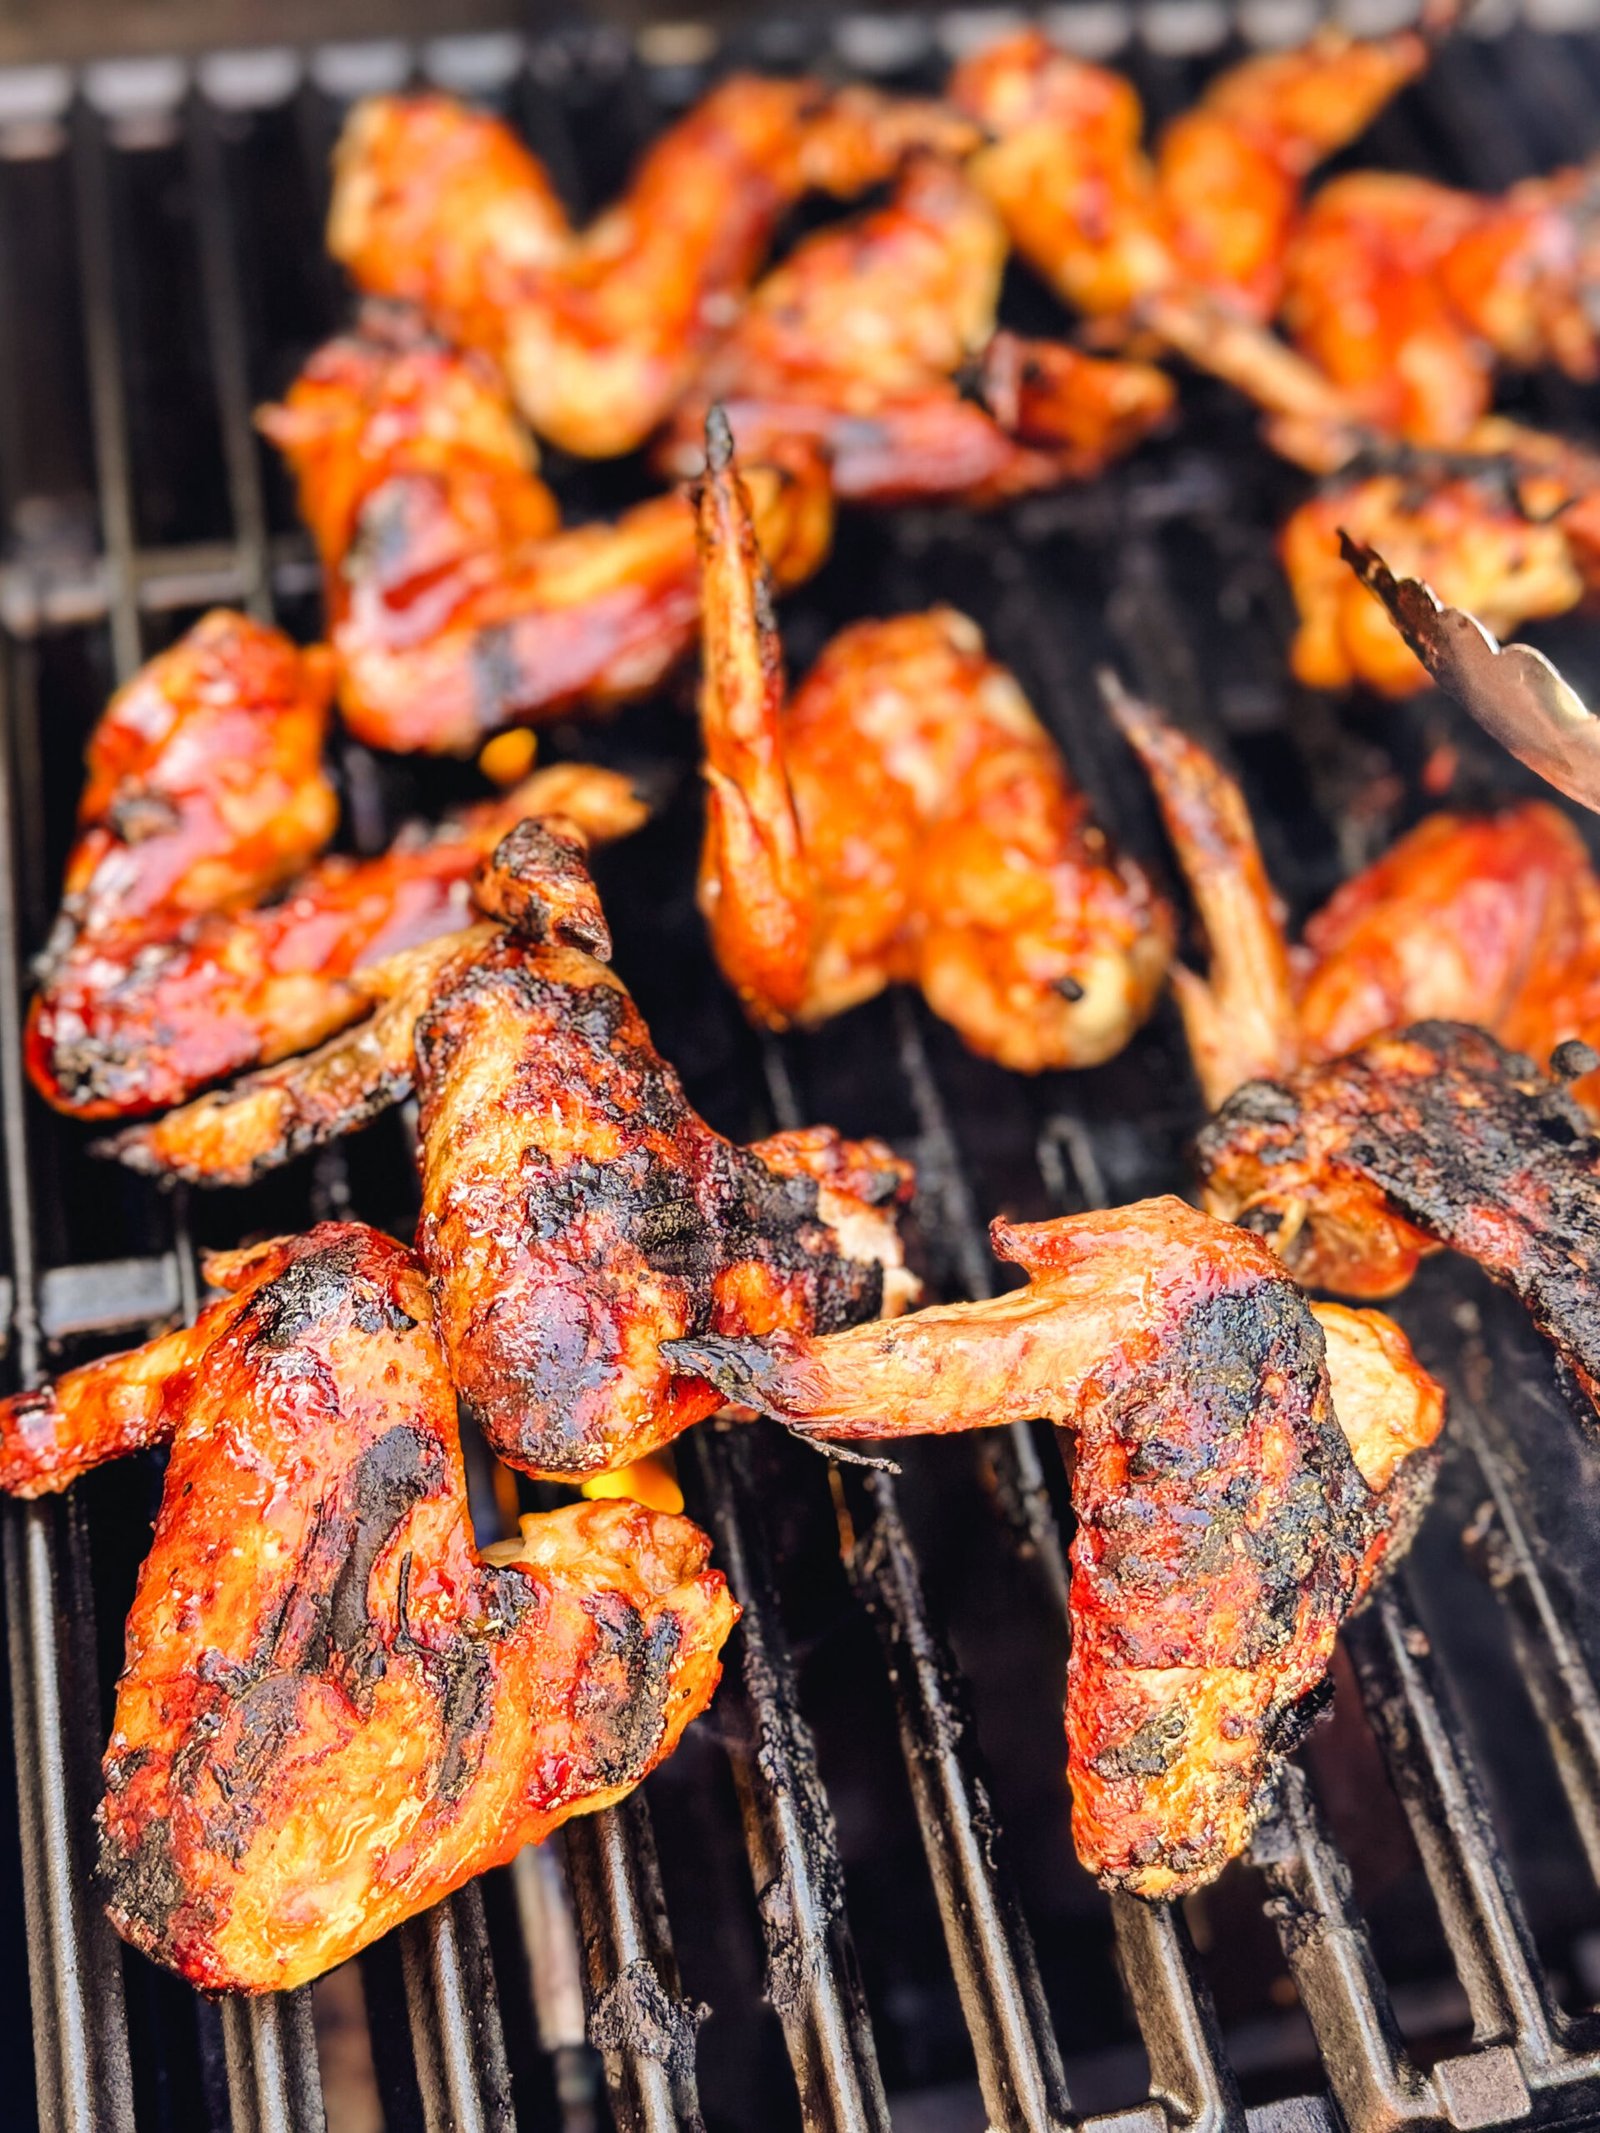
Credit: www.charbroil.com
Secure Connections
Secure connections are the backbone of safely hooking up your natural gas grill. If connections are loose or improperly sealed, gas leaks can occur, posing serious safety risks. Taking the time to ensure every joint and fitting is tightly sealed will keep your grill running smoothly and your cooking environment safe.
Use Thread Sealant
Applying thread sealant on pipe threads prevents gas from escaping through tiny gaps. Use a sealant designed specifically for gas connections, such as a gas-rated pipe thread compound or Teflon tape rated for natural gas.
Wrap the tape clockwise around the threads two to three times before connecting. This ensures the sealant stays in place when tightening the fitting. Don’t skip this step—it’s a small effort that makes a big difference in preventing leaks.
Tighten Fittings Properly
Tightening fittings is about balance. If they're too loose, gas can leak. If you overtighten, you risk damaging threads or fittings, which can cause leaks or make future maintenance difficult.
Use a wrench to tighten the connections firmly, but stop as soon as you feel resistance. If you’re unsure, check the manufacturer’s instructions for torque specifications or consult a professional.
Ever thought about testing your connections with soapy water? Applying a soapy solution around joints and watching for bubbles can reveal leaks immediately. It’s a simple step that can save you from costly and dangerous problems later.
Perform Leak Test
Performing a leak test is a vital safety step after hooking up a natural gas grill. It ensures no gas escapes from connections. This test helps prevent dangerous leaks that could cause fire or explosions. The process is simple and uses a soapy water solution to check each joint and fitting.
Apply Soapy Water Solution
Make a soapy water mix using dish soap and water. Use a spray bottle or a brush to apply the solution. Cover all gas connections and fittings with the soapy water. Be sure to reach every joint where gas could leak.
Check For Bubbles
Watch the soapy water closely after applying it. Look for small bubbles forming on the gas connections. Bubbles mean gas is escaping and there is a leak. Tighten the fittings or replace damaged parts if you find bubbles. Repeat the test until no bubbles appear.
Start Grill Safely
Starting your natural gas grill safely is crucial to enjoy a great cookout without any risks. Taking the right precautions before ignition can prevent accidents and ensure your grill works efficiently. Let’s look at how to begin your grilling session with safety at the forefront.
Turn On Gas Supply
Before you even think about lighting the grill, make sure the gas supply is turned on properly. Locate the main gas valve and open it slowly to avoid sudden pressure surges. Always check for the smell of gas or any hissing sounds that might indicate leaks—your nose and ears are your first safety tools.
Have you ever noticed a faint gas smell and ignored it? That small warning can save you from a dangerous situation. If you detect any leaks, turn off the gas immediately and fix the connection or call a professional.
Ignite Burners Carefully
Lighting the burners requires attention and care. Start by opening the grill lid to prevent gas buildup inside—this step is often overlooked but incredibly important. Use the built-in ignition system or a long match to ignite the burners one at a time, keeping your face and body away from the grill.
If your grill doesn’t light after a few attempts, don’t keep trying blindly. Shut off the gas, wait a few minutes for the gas to dissipate, and then try again. This practice minimizes the risk of flare-ups and unexpected fires.
Maintain Your Grill
Connecting a natural gas grill requires careful attention to safety and proper fittings. Begin by attaching the gas line securely to the grill’s inlet valve, ensuring no leaks. Always test connections with soapy water before lighting the grill.
Maintaining your natural gas grill ensures safe and efficient operation. Regular care can extend its lifespan and improve performance. Follow these simple steps to keep your grill in top shape.
Regular Inspection
Examine your grill for wear and tear. Check the hoses for cracks or leaks. Make sure the connections are secure. Inspect the burners for rust or damage. Address any issues before they worsen.
Clean Gas Lines And Burners
Clear gas lines prevent blockages. Disconnect the gas supply first. Use a pipe cleaner to remove debris. Clean the burners with a brush. Ensure the ports are unclogged for even flame distribution. Reassemble everything carefully.

Credit: www.amazon.com
Frequently Asked Questions
How Do I Safely Connect A Natural Gas Grill?
Ensure the gas supply is turned off before starting. Use a flexible gas line and a proper regulator. Connect securely and check for leaks with soapy water. Never use an open flame to test connections.
What Tools Are Needed To Hook Up A Natural Gas Grill?
You will need an adjustable wrench, pipe thread tape, a gas regulator, and a flexible gas line. A leak detection solution is also essential for safety checks after installation.
Can I Convert A Propane Grill To Natural Gas?
Yes, but it requires a conversion kit specific to your grill model. Follow the manufacturer’s instructions carefully to replace burners and adjust pressure settings properly.
How Do I Check For Gas Leaks After Installation?
Apply a soapy water solution to all gas connections. Turn on the gas supply slowly. Look for bubbles forming, indicating a leak. Tighten connections and retest if needed.
Conclusion
Hooking up a natural gas grill is easier than it seems. Follow safety steps and use the right tools. Check all connections for leaks before lighting. Take your time and stay calm throughout the process. This will help you enjoy grilling without worry.
With practice, you will feel more confident and ready to cook. Now, your grill is set for many great meals ahead. Simple, safe, and ready to use.