If you use a self-healing cutting mat, you know how important it is to keep it clean. But how do you clean it without damaging those special surfaces that heal themselves?
You want your mat to last longer and stay smooth for every cut you make. You’ll discover simple, effective ways to clean your mat so it looks and works like new. Keep reading, and you’ll learn easy steps that save you time and protect your tools.
Your cutting projects deserve a fresh, clean mat—let’s make sure you get it!
Choosing The Right Cleaning Tools
Choosing the right cleaning tools is essential to keep your self-healing cutting mat in top shape. Using harsh or rough materials can damage the surface, reducing its lifespan and performance. Instead, opt for gentle tools that clean effectively without causing harm.
Soft Brushes And Cloths
Soft brushes are excellent for removing tiny scraps of fabric, paper, or thread stuck in the grooves. A toothbrush with soft bristles or a small paintbrush works well. You can also use a microfiber cloth to wipe away dust and residue without scratching the mat.
Have you noticed how abrasive scrubbers leave marks on your mat? That’s why soft tools matter. They clean without damaging the delicate self-healing surface, keeping your cutting mat smooth and ready for your next project.
Mild Cleaning Agents
Strong chemicals can degrade your mat’s surface quickly. Instead, use mild cleaning agents like diluted dish soap or gentle hand soap mixed with water. These solutions break down grime without stripping away the mat’s protective layer.
Try to avoid bleach, alcohol, or harsh solvents—they can cause discoloration and brittleness. After applying your cleaning solution, rinse with clean water and pat dry with a soft towel. This method refreshes your mat while preserving its self-healing properties.
Routine Cleaning Steps
Keeping your self-healing cutting mat clean is essential for maintaining its durability and performance. Routine cleaning helps prevent debris buildup that can dull your blades or damage the mat's surface. The process is simple and fits easily into your crafting routine.
Removing Surface Debris
Start by gently brushing off loose scraps of fabric, paper, or dust. Use a soft brush or a lint roller to pick up tiny particles that stick to the mat. Avoid using anything sharp that could scratch the surface.
If you notice stubborn bits stuck in the grooves, try a soft toothbrush to loosen them without causing harm. Removing debris regularly stops it from embedding deeper into the mat, which can affect your cutting accuracy.
Wiping Down The Mat
After clearing the surface debris, wipe the mat with a damp cloth to remove any remaining dirt or residue. Use lukewarm water and a mild soap if needed, but avoid harsh chemicals that can degrade the mat's material.
Dry the mat completely with a clean towel before storing it flat to prevent warping. Have you ever noticed how a clean mat helps your rotary cutter glide smoothly? Keeping your mat wiped down not only extends its life but also improves your cutting experience every time.
Deep Cleaning Techniques
Cleaning a self-healing cutting mat goes beyond quick wipes. Deep cleaning techniques restore your mat’s surface, keeping it smooth and extending its life. These methods remove embedded debris and stubborn stains, ensuring your cutting experience stays precise and hassle-free.
Soaking The Mat
Soaking your cutting mat helps loosen dirt and residue trapped in the surface grooves. Fill a bathtub or large basin with lukewarm water and add a small amount of mild dish soap. Submerge the mat completely and let it soak for about 30 minutes.
After soaking, rinse the mat under cool running water to wash away loosened particles. Avoid hot water—it can warp the mat’s shape. Have you noticed how soaking makes even the most stubborn bits lift off without scrubbing?
Using Gentle Scrubbing Methods
Once soaked, use a soft sponge or a microfiber cloth to gently scrub the mat’s surface. Focus on areas with visible stains or stuck-on debris, but be careful not to press too hard. Aggressive scrubbing can damage the self-healing properties.
For tougher spots, a soft-bristled toothbrush works well to reach small crevices. Try scrubbing in circular motions to encourage the surface to "heal" itself. How often do you take the time to give your mat this kind of care?
Credit: excelblades.com
Drying And Maintenance Tips
Cleaning your self-healing cutting mat is only part of the care it needs to last long. Proper drying and regular maintenance are just as important to keep the mat in top shape. Neglecting these steps can lead to warping, mold, or loss of the mat’s self-healing ability.
Proper Drying Practices
After cleaning your cutting mat, never leave it to dry in direct sunlight. Intense heat can cause the mat to warp or lose its flexibility.
Instead, lay it flat on a clean, dry surface in a well-ventilated room. Air circulation speeds up drying without exposing the mat to damaging elements.
If you notice water pooling on the mat, gently pat it with a soft towel. Avoid rubbing, which can damage the surface texture.
Storing The Mat Safely
Your cutting mat should always be stored flat or hanging vertically. Rolling or folding the mat can create permanent creases or cracks.
Keep it away from heat sources like radiators or ovens. High temperatures will degrade the mat material over time.
Consider placing a lightweight cloth over your mat when storing to protect it from dust. Do you keep your mat in a drawer or on your desk? Choosing a consistent, safe spot can prevent accidental damage and keep your workspace tidy.
Avoiding Damage During Cleaning
Cleaning a self-healing cutting mat requires care to avoid damage. The mat's surface is delicate and needs gentle handling. Using the wrong cleaning methods may harm its self-healing properties. Here are some tips to keep your cutting mat in great shape without causing harm.
What To Avoid
Avoid harsh chemicals when cleaning your mat. They can erode the surface. Do not use bleach or ammonia-based cleaners. These can weaken the mat's material. Steer clear of scrubbing tools with hard bristles. They may scratch the surface. Avoid soaking the mat in water for too long. Excessive moisture can warp the mat.
Handling Stubborn Stains
For stubborn stains, use a mild dish soap. Mix it with warm water for a gentle clean. Use a soft cloth to apply the solution. Rub gently to avoid damaging the mat. Rinse with clean water to remove soap residue. Pat dry with a soft towel to absorb moisture. Ensure the mat is fully dry before use.

Credit: www.youtube.com
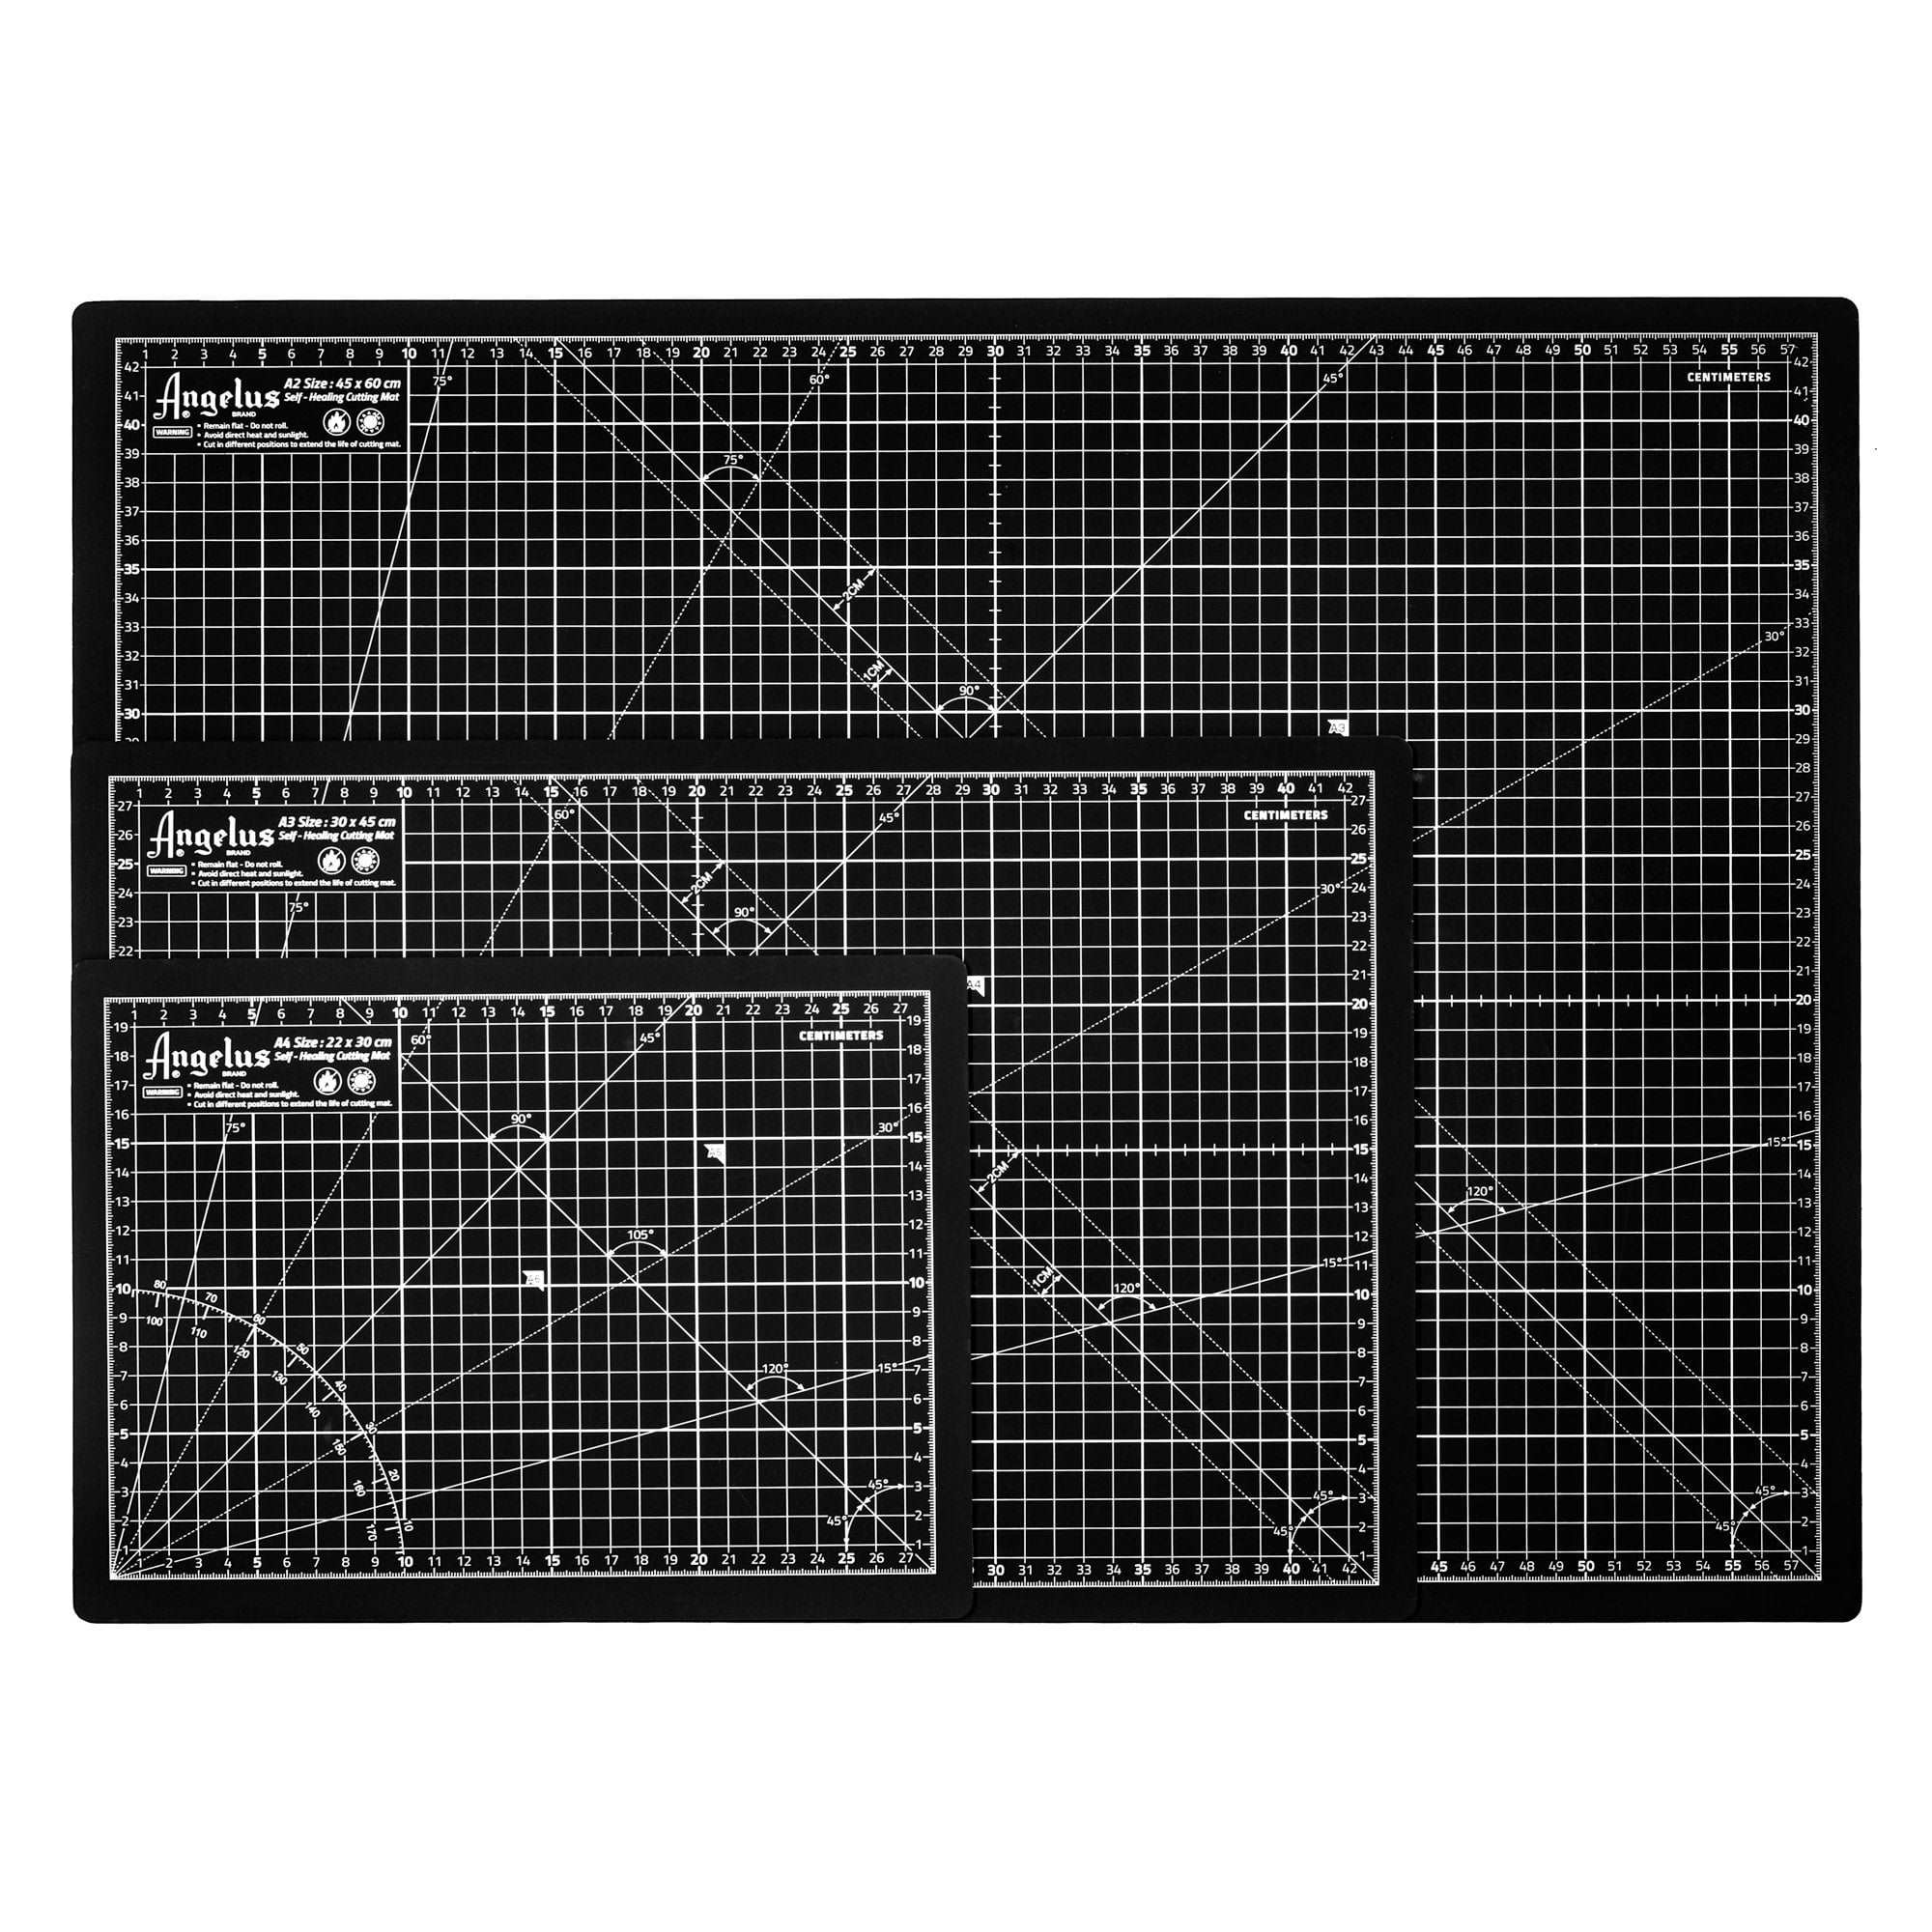
Credit: angelusdirect.com
Frequently Asked Questions
How Often Should I Clean A Self Healing Cutting Mat?
Clean your cutting mat after every few uses. Regular cleaning removes debris and prevents blade residue buildup. This keeps the surface smooth and extends the mat’s lifespan. Light cleaning is best to maintain its self-healing properties.
What Materials Are Safe For Cleaning Cutting Mats?
Use mild soap, warm water, and a soft cloth to clean mats. Avoid harsh chemicals or abrasive tools, as they can damage the surface. Gentle cleaning ensures the mat stays intact and functional without losing its self-healing ability.
Can I Use Rubbing Alcohol On My Cutting Mat?
Yes, rubbing alcohol can remove stubborn stains and adhesive residue. Apply it sparingly with a soft cloth and avoid soaking the mat. Always test on a small area first to ensure no damage occurs.
How Do I Remove Stuck Debris From A Cutting Mat?
Use a soft brush or a plastic scraper to gently lift debris. Avoid metal tools that can cut or gouge the mat. Regular cleaning prevents debris from embedding deeply into the surface.
Conclusion
Cleaning your self-healing cutting mat keeps it in good shape. Use gentle soap and warm water to remove dirt. Avoid harsh scrubbing to protect the surface. Let the mat dry flat before using it again. Regular care helps your mat last longer and work better.
Small steps make a big difference for your cutting projects. Keep your mat clean, and enjoy smoother, safer cuts every time. Simple habits save money and improve your crafting experience.