Do you love the idea of a perfectly poached egg but don’t have an egg poacher? You’re not alone.
Poaching eggs can seem tricky if you don’t have special tools, but it doesn’t have to be. Imagine enjoying a soft, silky poached egg on your toast, made right in your own kitchen—without extra gadgets. In this post, you’ll discover simple, easy steps to poach an egg using just what you already have.
Ready to impress yourself and your taste buds? Keep reading, and you’ll master the art of poaching eggs the smart way.
Choosing Fresh Eggs
Choosing fresh eggs is key to poaching success. Fresh eggs hold their shape better in water. They have firmer whites that wrap around the yolk. Older eggs spread out and create messy poached eggs.
Using fresh eggs makes your poached eggs look neat and taste better. The fresher the egg, the easier it is to cook perfectly.
Check The Sell-by Date
Look at the egg carton for the sell-by or expiration date. Choose eggs with the latest date. These eggs are usually fresher and better for poaching.
Perform The Float Test
Fill a bowl with cold water. Gently place the egg in the water.
- If the egg sinks and lies flat, it is fresh.
- If it stands upright or floats, it is older and not ideal.
Examine The Egg Shell
Pick eggs with clean, uncracked shells. Avoid eggs with slimy or powdery residue. A clean shell means the egg is well handled and fresh.
Inspect The Egg White And Yolk
Crack the egg into a small bowl before poaching. Fresh eggs have thick, firm whites and round yolks. Thin whites and flat yolks mean the egg is old.
Preparing The Water
Preparing the water is a crucial step for poaching an egg without an egg poacher. The water temperature and additives you use can make a huge difference in how well your egg holds together and cooks evenly. Getting this right helps avoid that frustrating mess of egg whites scattering all over your pot.
Selecting The Right Pot
Choose a pot that is wide and deep enough to hold at least 3-4 inches of water. A wider pot gives the egg more space to float without sticking to the sides. You want the water to gently swirl around the egg, so avoid narrow or tall pots that restrict movement.
My favorite is a medium-sized saucepan with straight sides. It heats evenly and is easy to maneuver with a slotted spoon. Do you have a pot that lets you see the egg clearly while it cooks? That visibility helps you catch the perfect doneness.
Adding Vinegar Or Salt
Adding a splash of vinegar to the water can help the egg whites coagulate faster, keeping the shape neat. Use about 1-2 teaspoons of white vinegar per liter of water. Vinegar’s acidity tightens the egg white proteins, which is especially helpful if your eggs are very fresh or if you’re new to poaching.
Salt is another option, but it’s less effective at keeping the egg together. If you add salt, do so sparingly as it can increase water temperature and affect cooking time. I usually stick to vinegar because it’s a simple trick that consistently improves results.
Have you tried both and noticed a difference? Sometimes small tweaks like this can change your poaching game entirely.
Cracking The Egg
Cracking the egg is the first crucial step in poaching without a special tool. It sets the stage for a clean, intact egg to slide gently into the water. How you crack the egg can make all the difference between a perfect poach and a messy one.
Using A Small Bowl Or Cup
Start by cracking your egg into a small bowl or cup instead of directly into the water.
This simple trick lets you check the egg’s quality and freshness before cooking. It also helps control the egg’s entry into the water, avoiding splashes that can break the yolk.
Try gently sliding the egg from the bowl’s edge into the simmering water. This method gives you more control and reduces the risk of bits of shell or broken yolks.
Checking For Shells
After cracking, always inspect the bowl for small shell pieces.
It’s easy to miss tiny shards that can ruin the texture of your poached egg. Use a spoon or your fingers to carefully remove any shell fragments before cooking.
Have you ever bitten into an unexpected crunch? Taking a moment to check prevents that unpleasant surprise.

Creating A Water Whirlpool
Creating a water whirlpool is a clever trick to poach an egg perfectly without any special tools. The spinning motion helps the egg white wrap neatly around the yolk, giving you a tidy, restaurant-quality poached egg. It’s easier than you think, and once you get the hang of it, you might never reach for an egg poacher again.
Preparing The Water For The Whirlpool
Start with a deep pan or saucepan filled with about 3 to 4 inches of water. Bring the water to a gentle simmer—small bubbles should rise steadily but not boil wildly. Adding a splash of vinegar helps the egg white firm up faster, but it’s optional.
How To Create The Whirlpool
Use a spoon or a whisk to stir the water in a circular motion until it spins like a whirlpool. The goal is to have a steady, smooth rotation without splashing water out of the pan. The spinning water creates a natural vortex that pulls the egg white inward.
Dropping The Egg Into The Whirlpool
Crack your egg into a small bowl or cup first—this gives you control and prevents shell fragments from falling in. Gently slide the egg into the center of the whirlpool. The spinning water will wrap the white around the yolk, helping it cook evenly and stay together.
Timing And Removing The Poached Egg
Let the egg cook for about 3 to 4 minutes, depending on how runny you like your yolk. Use a slotted spoon to lift the egg out carefully, allowing excess water to drip off. Place it on a paper towel or plate to drain before serving.
Have you tried this technique? You might be surprised how a simple swirl can make poaching eggs less messy and more enjoyable. Once you master the whirlpool, perfectly poached eggs are just a few spins away.
Cooking The Egg
Cooking the egg properly is key to a perfect poach. It takes gentle heat and careful timing. The goal is a firm white and a runny yolk. This process needs patience and attention to detail. Small changes in heat or time can change the texture. Understanding how to control these factors helps create the ideal poached egg every time.
Timing The Poach
The egg cooks quickly in simmering water. Usually, 3 to 4 minutes is enough. Start counting once the egg is in the water. Less than 3 minutes gives a very soft white. More than 4 minutes makes the white firm and the yolk less runny.
Keep an eye on the clock. Use a timer for accuracy. Timing affects the texture and taste greatly.
Adjusting Heat
Heat control keeps the egg shape neat and smooth. Water should be just below boiling, around 180°F to 190°F (82°C to 88°C). Too hot, and the egg breaks apart. Too cool, and it takes too long to cook.
Lower the heat if the water bubbles too much. Gentle simmering helps the egg cook evenly. Stir the water gently to keep the egg together. This helps the white wrap around the yolk perfectly.
Removing And Draining
Removing and draining a poached egg carefully helps keep its shape intact. It also prevents extra water from making your dish soggy. This step is crucial for a clean and tasty presentation.
Using A Slotted Spoon
Use a slotted spoon to lift the egg gently from the water. The slots allow water to drain while holding the egg securely. Move the spoon slowly to avoid breaking the delicate egg white.
Hold the egg over the pot for a moment. Let the water drip back into the pot naturally. This helps keep the egg neat and ready to serve.
Draining Excess Water
After removing the egg, place it on a paper towel or clean kitchen cloth. This absorbs any leftover water on the surface. Press lightly to remove extra moisture without breaking the egg.
Draining excess water improves the egg’s texture. It also prevents watery yolk spills on your plate. This simple step makes your poached egg look and taste better.
Serving Suggestions
Serve poached eggs on toasted bread or fresh salad for a tasty meal. Sprinkle with salt, pepper, or herbs to add flavor. Enjoy them warm for the best taste and texture.
When you poach an egg without an egg poacher, serving it beautifully becomes key. A poached egg can be a versatile addition to many dishes. Its delicate texture and rich flavor can enhance simple meals, making them feel special.
Simple Seasonings
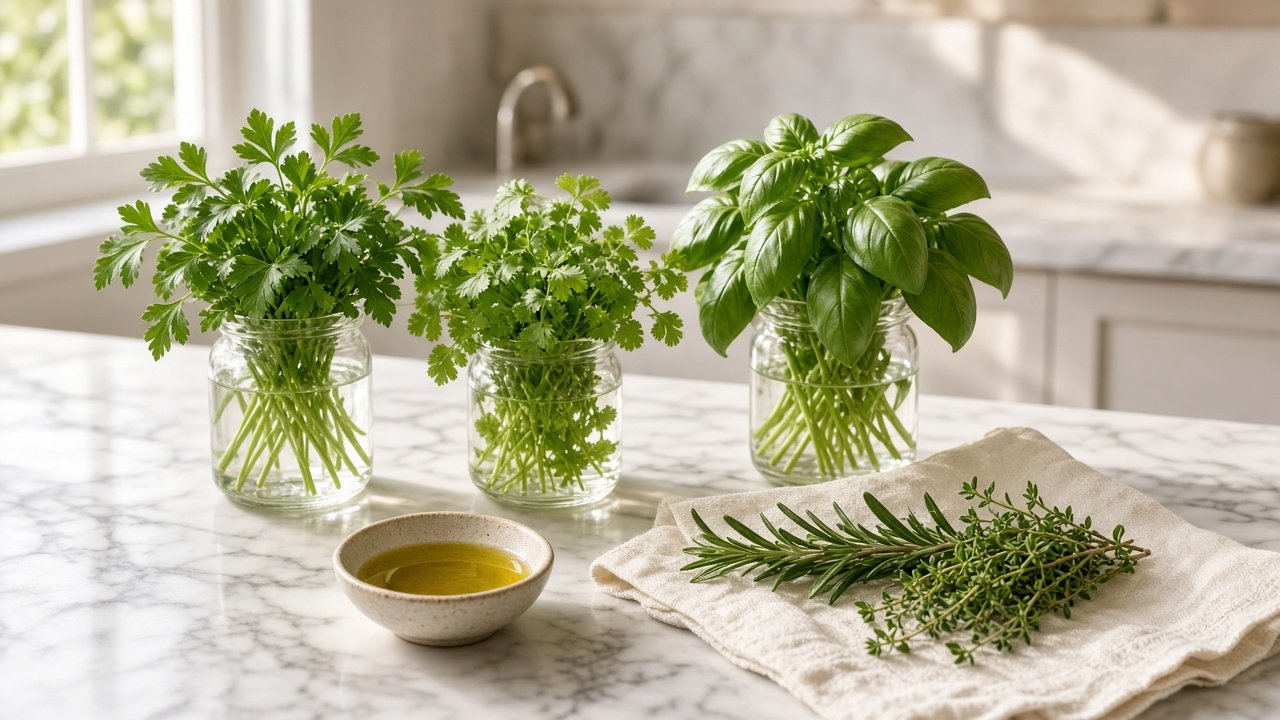
Season your poached egg with a sprinkle of salt and pepper. Add a touch of paprika for a mild kick. Or try a dash of smoked salt for deeper flavor. Fresh herbs like parsley or chives can brighten the dish. A drizzle of olive oil adds richness.
Pairing Ideas
Serve your poached egg over toasted bread. Sourdough or rye are excellent choices. Pair with avocado slices for a creamy touch. Add it to a salad for extra protein. Or place it atop a bowl of warm quinoa. Bacon strips or smoked salmon make excellent companions. For a simple meal, enjoy with sautéed spinach or mushrooms.

Common Mistakes To Avoid
Poaching an egg without an egg poacher can be tricky. Many people make common mistakes that affect the outcome. Knowing these pitfalls helps achieve a perfect poached egg. Let's explore some of these common errors.
Using Water At The Wrong Temperature
Water temperature is crucial. Boiling water is too hot. It can overcook the egg quickly. Instead, aim for a gentle simmer. This keeps the egg tender and evenly cooked.
Skipping The Vinegar
Vinegar helps the egg white firm up faster. Some people skip it, thinking it's optional. Even a small splash can improve the egg's shape. It prevents the egg from spreading too thin in the water.
Cracking The Egg Directly Into The Water
Cracking the egg directly can cause it to scatter. Use a small bowl to crack the egg first. Then gently slide it into the simmering water. This keeps the egg more intact.
Not Stirring The Water
Creating a gentle whirlpool in the water helps. It keeps the egg together. This technique works well for a more compact shape. Many skip this step, resulting in a spread-out egg.
Overcooking The Egg
Timing is key in poaching. Leaving the egg too long in water overcooks it. Set a timer for three to four minutes. This ensures a runny yolk and firm whites.
Tips For Perfect Poached Eggs Every Time
Perfect poached eggs might seem tricky without an egg poacher, but with a few simple tips, you can nail them every time. The key lies in controlling water temperature, timing, and handling the egg gently. Once you get these right, your poached eggs will have tender whites and runny yolks that impress.
Use Fresh Eggs For Best Results
Fresh eggs hold their shape better when poached. The whites stay tighter around the yolk, creating a neat, compact shape. If you’re unsure about your egg’s freshness, try the float test: fresh eggs sink in water while older ones float.
Control The Water Temperature Carefully
Keep your water just below boiling—around 180°F to 190°F (82°C to 88°C). Vigorous boiling can break the egg apart. You want gentle, steady simmering to cook the egg evenly without toughening the whites.
Add A Splash Of Vinegar To The Water
Adding a teaspoon of vinegar helps the egg whites coagulate faster. This keeps the egg compact and prevents it from spreading out. Don’t worry; it won’t affect the taste if you use just a little.
Create A Gentle Whirlpool Before Adding The Egg
Stir the water to create a slow whirlpool. This motion helps wrap the egg white around the yolk naturally. Be careful not to stir too hard or the egg might break up.
Crack The Egg Into A Small Bowl First
Cracking your egg into a small bowl or cup allows you to slide it gently into the water. This reduces the risk of breaking the yolk or dropping shell fragments into the poaching water. It also lets you check for any imperfections before cooking.
Set A Timer For Precise Cooking
Timing is crucial for poached eggs. Typically, 3 to 4 minutes gives you a runny yolk with set whites. Want it firmer? Add another minute. Use a timer to avoid guessing and get consistent results.
Remove Eggs With A Slotted Spoon And Drain Well
Use a slotted spoon to lift the egg from the water gently. Let the excess water drip off before serving. Placing the egg on paper towels or a clean kitchen cloth helps remove any leftover water.
What’s Your Poaching Challenge?
Have you struggled with watery whites or broken yolks? Try adjusting water temperature or freshness of eggs first. What small change could make the biggest difference in your poaching technique?

Frequently Asked Questions
How Can I Poach An Egg Without Special Tools?
You can poach an egg using just a pot of simmering water and a spoon. Crack the egg into a small bowl, create a gentle whirlpool in the water, and slide the egg in carefully. Cook for 3-4 minutes until the whites set but yolk remains runny.
What’s The Best Water Temperature To Poach Eggs?
The ideal water temperature for poaching eggs is just below boiling, around 180-190°F (82-88°C). This gentle heat helps the egg whites cook evenly without becoming tough or spreading too much in the water.
Can I Use Vinegar To Help Poach Eggs?
Yes, adding a small amount of vinegar to the water helps egg whites coagulate faster. It prevents the whites from spreading and creates a neater poached egg. Use about 1-2 teaspoons of vinegar per liter of water.
How Long Should I Poach An Egg For Perfect Yolk?
Poach the egg for 3 to 4 minutes for a runny yolk. Cook longer if you prefer a firmer yolk. Timing ensures the whites are fully cooked while the yolk stays soft and creamy.
Conclusion
Poaching an egg without a special tool is simple and quick. Just use a pot of simmering water and a little vinegar. Crack the egg gently and slide it in. Watch it cook until the white is firm but the yolk stays soft.
This method works well for breakfast or any meal. Practice a few times to get the timing right. You don’t need fancy gadgets to enjoy a perfect poached egg at home. Give it a try and enjoy your tasty, healthy dish.