Are you ready to master the art of grilling BBQ chicken legs on your gas grill? Imagine juicy, flavorful chicken with perfectly crispy skin, sizzling right in your backyard.
Whether you're a beginner or just looking to improve your grilling skills, this guide will show you simple steps to get mouthwatering results every time. Keep reading to discover tips that will make your BBQ chicken legs the star of your next cookout.
Your grill is about to become your new best friend.
Choosing Chicken Legs
Choosing the right chicken legs for your BBQ can be the difference between a good meal and a great one. Not all chicken legs are created equal, and understanding the differences can elevate your grilling game. From the freshness of the meat to the size and quality, every detail counts.
Fresh Vs Frozen Options
When picking chicken legs, you’ll need to decide between fresh and frozen options. Fresh chicken legs often have a more robust flavor and tender texture, making them a popular choice for grilling. However, frozen chicken legs can be more convenient, especially if you're planning ahead and want to buy in bulk.
Frozen chicken must be thawed properly before grilling to ensure even cooking. Consider your schedule and meal prep habits when making your choice. Do you prefer the convenience of having chicken ready in the freezer, or the flavor that fresh chicken brings?
Size And Quality Tips
The size of the chicken legs can affect cooking time and how they absorb marinades. Smaller legs cook faster and tend to be juicier, while larger ones may offer more meat but require careful attention to ensure they cook evenly.
Quality is paramount, so look for chicken legs with a consistent size and minimal bruising or discoloration. Organic or free-range options often provide superior taste and texture. Investing a bit more in quality can reward you with a more satisfying meal.
What size and quality are you aiming for in your BBQ chicken legs? Remember, the choice you make can make your BBQ feast memorable for you and your guests.

Credit: ourzestylife.com
Preparing The Chicken
Getting your chicken legs ready is the foundation of great BBQ. How you clean, trim, and flavor them can make a huge difference in taste and texture. Let’s dive into the steps that set you up for juicy, flavorful grilled chicken.
Cleaning And Trimming
Start by rinsing the chicken legs under cold water to remove any residue. Pat them dry with paper towels to help the skin crisp up on the grill.
Check for excess fat or loose skin. Trim off any parts that might burn too quickly or cause flare-ups on your gas grill.
Removing the silver skin, a thin membrane on the leg, can improve tenderness. Do you notice how these small adjustments improve the final bite?
Marinating Ideas
Marinating adds moisture and layers of flavor. Use a simple mix of olive oil, lemon juice, garlic, and herbs for a fresh, zesty taste.
If you prefer something sweet and spicy, try combining honey, soy sauce, and chili flakes. Let the chicken soak for at least 30 minutes—overnight is even better.
Don’t forget to marinate in the fridge to keep things safe and fresh. Ever experimented with yogurt-based marinades? They tenderize chicken beautifully while adding a subtle tang.
Dry Rub Recipes
Dry rubs create a delicious crust that locks in juices. A classic rub might include paprika, garlic powder, salt, black pepper, and a touch of brown sugar.
For a smoky kick, add cumin and chili powder. Rub the mixture evenly over your chicken legs and let them rest for 20-30 minutes before grilling.
Try mixing your own blends to match your taste—what spices do you reach for when cooking chicken? Finding your perfect rub can become a signature for your BBQ sessions.
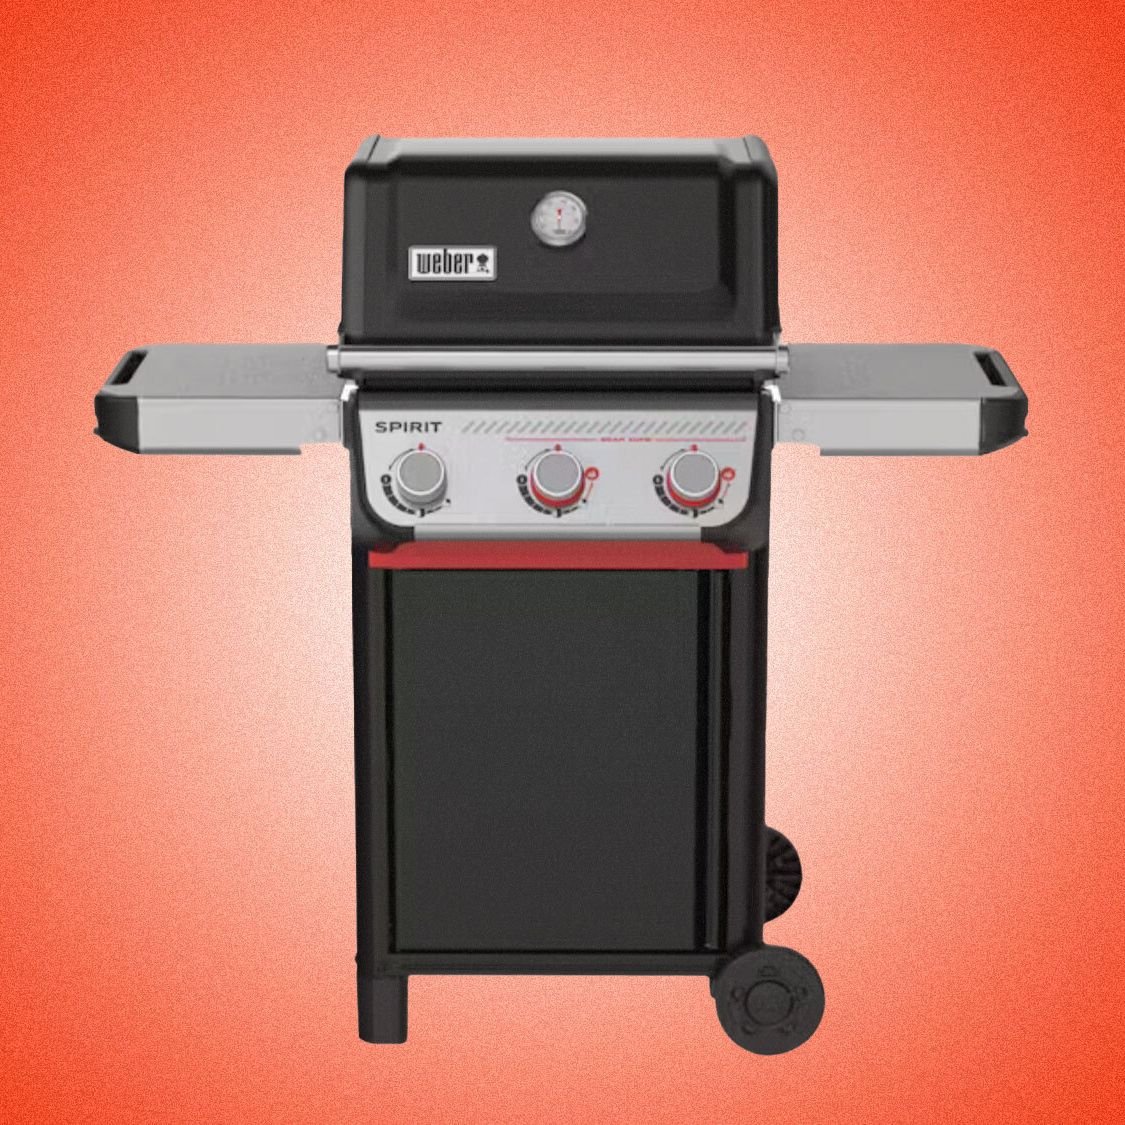
Setting Up The Gas Grill
Setting up your gas grill correctly is key to grilling perfect BBQ chicken legs. Without the right preparation, your chicken might cook unevenly or stick to the grates. Taking a few minutes to get your grill ready can save you from these common grilling mistakes and help you achieve juicy, flavorful results.
Preheating Steps
Start by turning on your gas grill and opening the lid to prevent gas buildup. Let the grill heat up for about 10 to 15 minutes until it reaches the desired temperature. Preheating ensures the grates are hot enough to sear the chicken, locking in juices and creating a crispy skin.
Have you noticed how cold grates cause food to stick? That’s why skipping preheating can ruin your BBQ. Make sure the grates are clean before heating to avoid flare-ups and uneven cooking.
Temperature Zones
Create two temperature zones on your grill: a high-heat zone and a medium or low-heat zone. This setup lets you sear the chicken legs on high heat first, then move them to the cooler side to finish cooking without burning.
To do this, turn on one or two burners on high and leave the others off or on low. This gives you control over the cooking process and prevents flare-ups caused by dripping fat. Have you tried this technique? It’s a game changer for controlling cooking speed and avoiding burnt spots.
Using A Grill Thermometer
A built-in grill thermometer can be misleading, so using a separate grill thermometer is a smart move. Place it on the grate near the chicken to get an accurate reading of the cooking surface temperature.
This helps you adjust the burners and maintain consistent heat throughout grilling. If you don’t have one, consider buying a reliable digital grill thermometer—it makes a difference in managing your cooking zones and timing.

Credit: ourzestylife.com
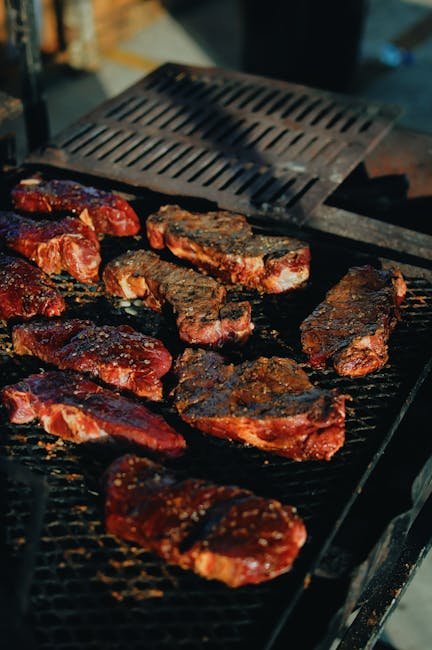
Grilling Techniques
Grilling chicken legs on a gas grill is more than just placing meat over fire. Understanding the right grilling techniques makes a huge difference in flavor and texture. Let’s break down some key tips to help you master the art of grilling BBQ chicken legs.
Direct Vs Indirect Heat
Knowing when to use direct or indirect heat can transform your chicken legs. Direct heat means placing the legs right over the flame, which sears the skin and adds a crispy, charred flavor. However, chicken legs need time to cook through without burning, so indirect heat is your friend for gentle, even cooking.
Try starting with direct heat for 3-4 minutes per side to get that golden crust. Then move the legs to indirect heat to finish cooking slowly. This method keeps the meat juicy while giving you that smoky grilled taste.
Flipping And Timing
Flipping your chicken legs too often can slow down the cooking and dry out the meat. Flip them once after the initial sear on direct heat, then let them cook on indirect heat without disturbance. This patience pays off with tender, juicy results.
Use a meat thermometer to check for doneness—165°F is the safe internal temperature. Cooking times can vary, but expect around 25-30 minutes total. Have you ever overcooked chicken legs by rushing the flip? Slowing down your timing can be a game-changer.
Preventing Flare-ups
Flare-ups happen when fat drips onto the flames, causing sudden bursts of fire. These flames can burn your chicken and create bitter flavors. To avoid this, trim excess fat from the legs before grilling.
Keep a spray bottle of water nearby to quickly control any flare-ups. Another tip: place a drip pan under the grill grate or use indirect heat zones to reduce fat dripping directly onto the burners. Managing flare-ups keeps your BBQ chicken looking and tasting perfect every time.
Checking Doneness
Checking the doneness of BBQ chicken legs is crucial for safe and tasty results. Properly cooked chicken ensures it is juicy and tender without any risk of foodborne illness. There are reliable ways to check if your chicken legs are ready on the gas grill. Use simple tools and keen observation to get perfect chicken every time.
Using A Meat Thermometer
A meat thermometer is the most accurate way to check doneness. Insert it into the thickest part of the chicken leg, avoiding the bone. The safe internal temperature for chicken is 165°F (74°C). Once the thermometer reads this temperature, the chicken is fully cooked. This method prevents undercooking and overcooking, keeping the meat moist and safe.
Visual And Texture Clues
Visual signs help confirm doneness without tools. Look for clear juices running from the chicken when pierced. Pink or red juices mean the chicken needs more time. The skin should be crispy and golden brown. The meat near the bone should feel firm, not rubbery. Press the leg gently; it should spring back slightly. These clues work well along with a thermometer for best results.

Credit: howtofeedaloon.com
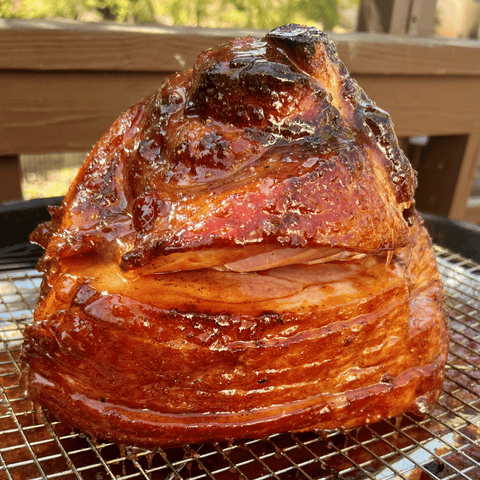
Adding Flavor Finishes
Adding flavor finishes is the final touch to perfect grilled BBQ chicken legs. This step enhances the taste and gives the chicken a delicious, glossy look. It also helps lock in moisture and boosts the overall flavor profile.
Applying the right sauces and allowing the chicken to rest creates a better eating experience. These simple actions make your BBQ chicken legs juicy, tender, and full of rich flavors.
Applying Bbq Sauces
Choose your favorite BBQ sauce for a tasty finish. Brush the sauce onto the chicken legs during the last few minutes of grilling. This prevents the sauce from burning and keeps the flavors fresh.
- Use a basting brush for even coating.
- Apply sauce in thin layers for better caramelization.
- Turn the chicken legs gently to avoid sauce dripping.
Adding sauce at the end builds a sticky, flavorful glaze that complements smoky grilled chicken perfectly.
Resting Before Serving
Resting the chicken legs after grilling is key to juicy meat. Let them sit for 5 to 10 minutes off the heat. This allows the juices to redistribute inside the meat.
- Place chicken on a clean plate or tray.
- Cover loosely with foil to keep warm.
- Avoid cutting too soon to prevent drying out.
Resting improves texture and flavor, making every bite tender and satisfying.
Serving Suggestions
Serving grilled BBQ chicken legs is a chance to delight your guests and family. The right sides and presentation make the meal more enjoyable. Simple touches create a feast that looks as good as it tastes. Keep the flavors balanced and the plate inviting.
Side Dishes To Pair
Choose sides that complement smoky and savory chicken legs. Fresh salads add crunch and brightness. Creamy mashed potatoes bring comfort and richness. Grilled vegetables echo the BBQ flavor and add color. Try these options:
- Coleslaw with a tangy dressing
- Grilled corn on the cob
- Classic potato salad
- Baked beans with a hint of sweetness
- Steamed green beans or asparagus
- Fresh tomato and cucumber salad
Presentation Tips
Arrange chicken legs neatly on a large platter. Garnish with fresh herbs like parsley or cilantro for color. Use small bowls for sauces and dips. Place lemon wedges around for zest and freshness. Serve with colorful side dishes to make the plate pop. Keep it simple but inviting. Clean edges and good lighting help photos if sharing online.
Troubleshooting Common Issues
Grilling BBQ chicken legs on a gas grill can be simple, but some problems might come up. Knowing how to fix common issues helps keep your chicken juicy and tasty. This section covers easy tips to handle common grilling challenges.
Dry Or Overcooked Chicken
Dry chicken happens when it cooks too long or at too high heat. Use medium heat to cook chicken evenly without drying it out. Check the internal temperature; it should be 165°F (74°C). Remove chicken from the grill once it reaches this temperature. Let it rest for a few minutes to keep juices inside.
Uneven Cooking
Uneven cooking happens if heat spreads unevenly or chicken pieces vary in size. Arrange chicken legs with similar size together. Use indirect heat by turning off some burners and placing chicken over cooler spots. Turn chicken legs often to cook all sides evenly. Use a meat thermometer to check doneness in different pieces.
Sticking To Grill
Chicken sticks to the grill if the grates are dirty or not oiled well. Clean grates with a grill brush before cooking. Oil the grill grates with a paper towel dipped in cooking oil. Avoid flipping chicken too early; wait until it releases naturally. Use a spatula or tongs gently to turn the chicken legs.
Frequently Asked Questions
How Long To Grill Bbq Chicken Legs On Gas Grill?
Grill chicken legs for 30-35 minutes over medium heat. Turn every 5-7 minutes for even cooking and char. Use a meat thermometer; chicken is done at 165°F (75°C).
Should Chicken Legs Be Marinated Before Grilling?
Yes, marinating adds flavor and tenderness. Marinate for at least 30 minutes or up to 4 hours. Use a mix of oil, acid, and spices for best results.
What Temperature Is Ideal For Grilling Chicken Legs?
Maintain a medium heat around 350°F (175°C) on a gas grill. This ensures thorough cooking without burning the skin. Use indirect heat for juicier meat.
How To Prevent Chicken Legs From Drying Out?
Cook over medium heat and avoid high flames. Baste with marinade or sauce during grilling. Use indirect heat and rest meat 5 minutes after grilling.
Conclusion
Grilling BBQ chicken legs on a gas grill is simple and fun. Start with clean, hot grates and use medium heat. Turn the legs often to cook evenly and avoid burning. Use your favorite marinade or dry rub for great taste.
Check the chicken’s temperature to ensure it’s fully cooked. Enjoy juicy, flavorful chicken every time you grill. Practice these steps, and your BBQ chicken legs will impress family and friends. Give it a try and enjoy your next outdoor meal!